OAuth for Gmail or Google Workspace
To use “Extract Any Mail Ultimate” with your Google account and extract email addresses, the software requires a Client ID and Client Secret to authenticate with Google’s APIs (Gmail API in this case). These credentials are part of Google’s OAuth 2.0 authentication process, which allows third-party apps like this one to access your Gmail data securely. Here’s how you can set this up step-by-step:
Steps to Get a Client ID and Client Secret for Your Google Account
Step 1: Sign In to Google Cloud Console
- Open your web browser and go to the Google Cloud Console.
- Sign in with the Google account you want to use with “Extract Any Mail Ultimate” (the one containing the emails you want to extract).
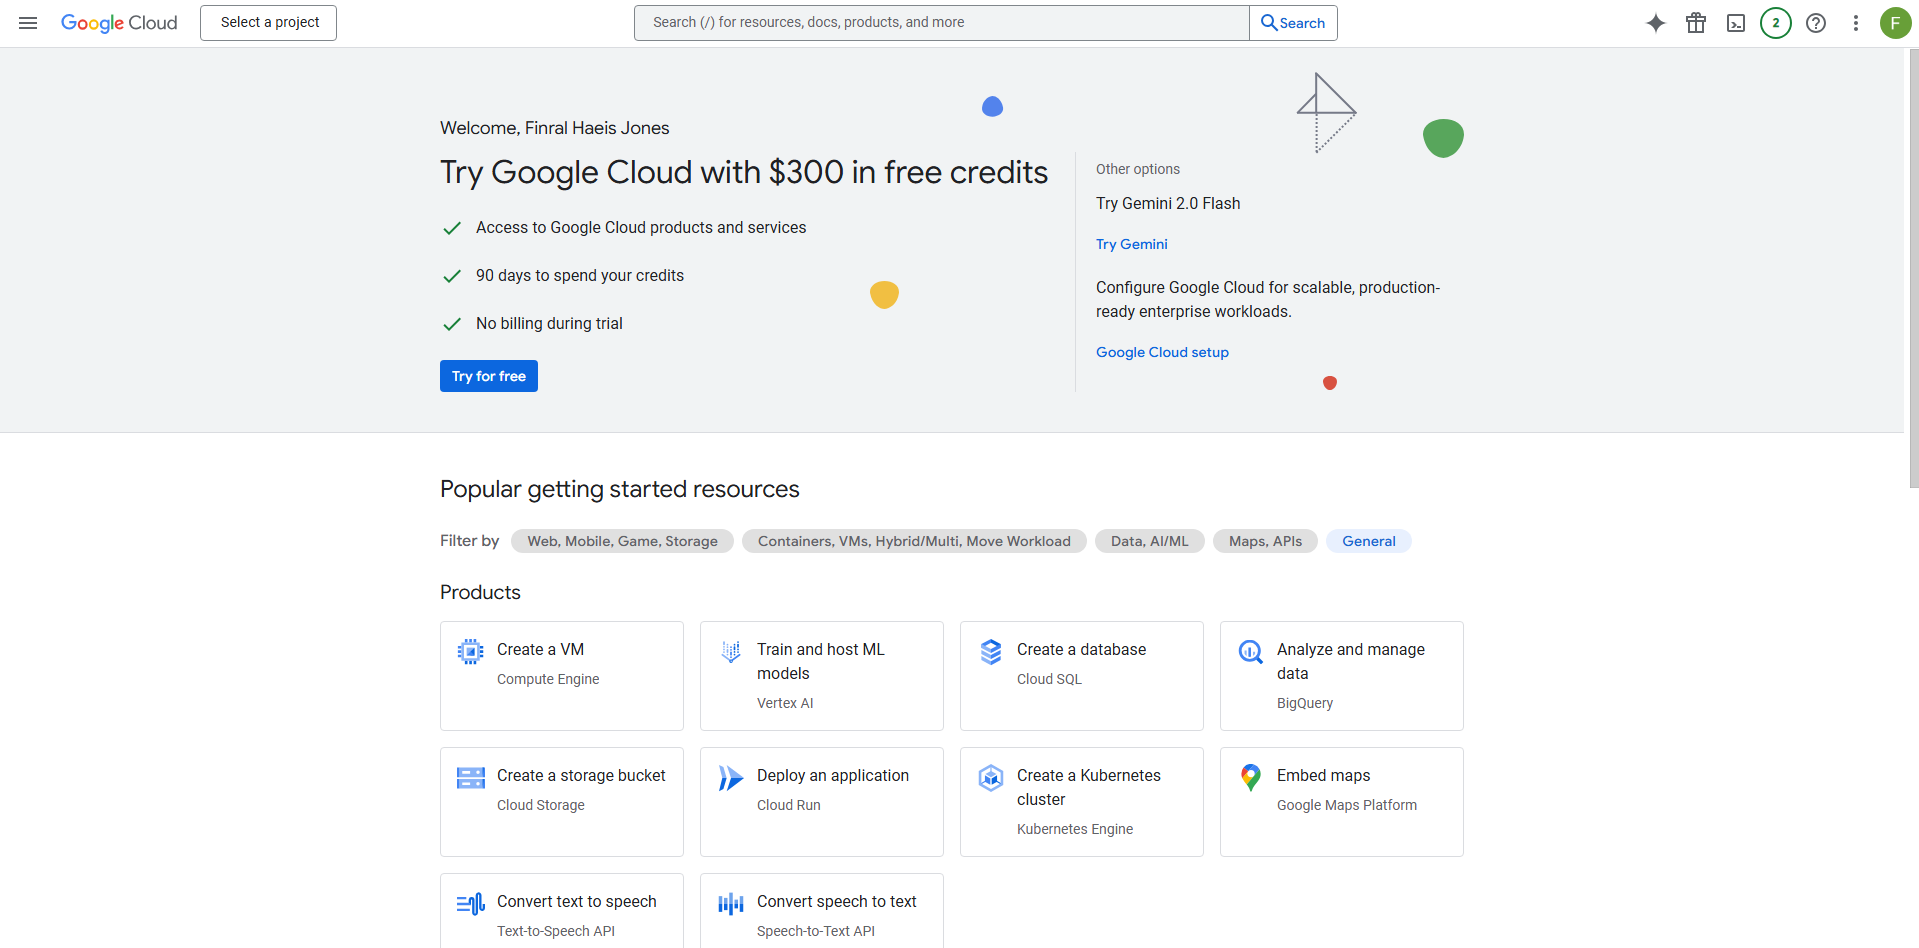
Step 2: Create a New Project
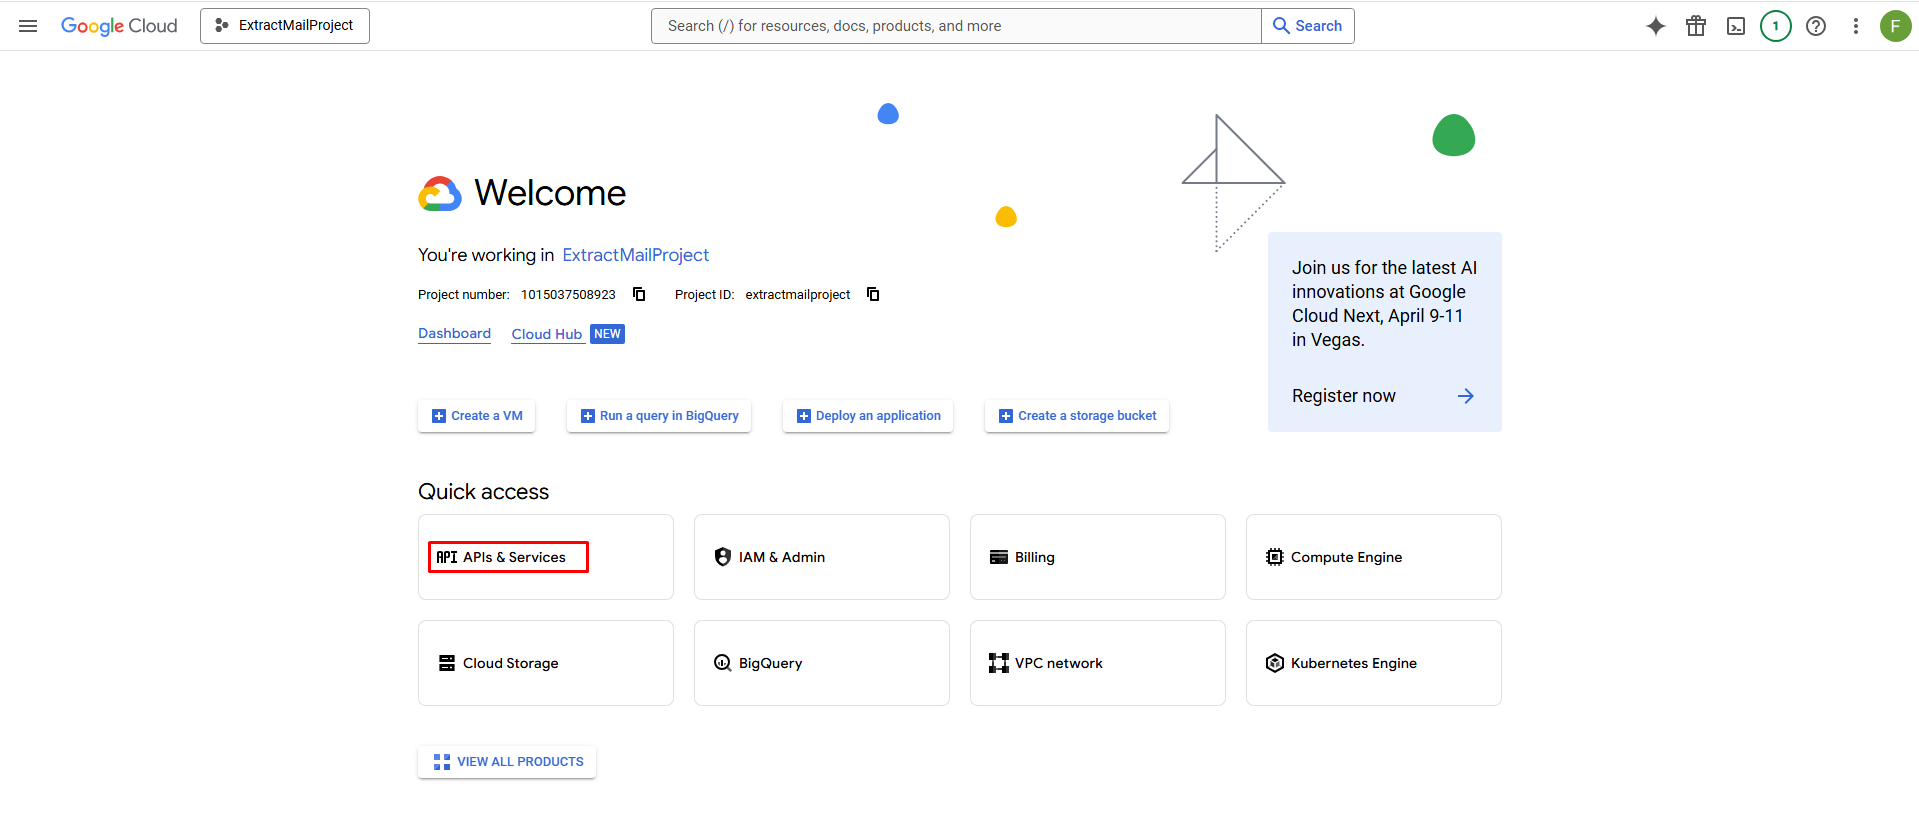
- At the top of the page, click the project dropdown next to “Google Cloud Platform” (it might say “Select a project” if no project is active).
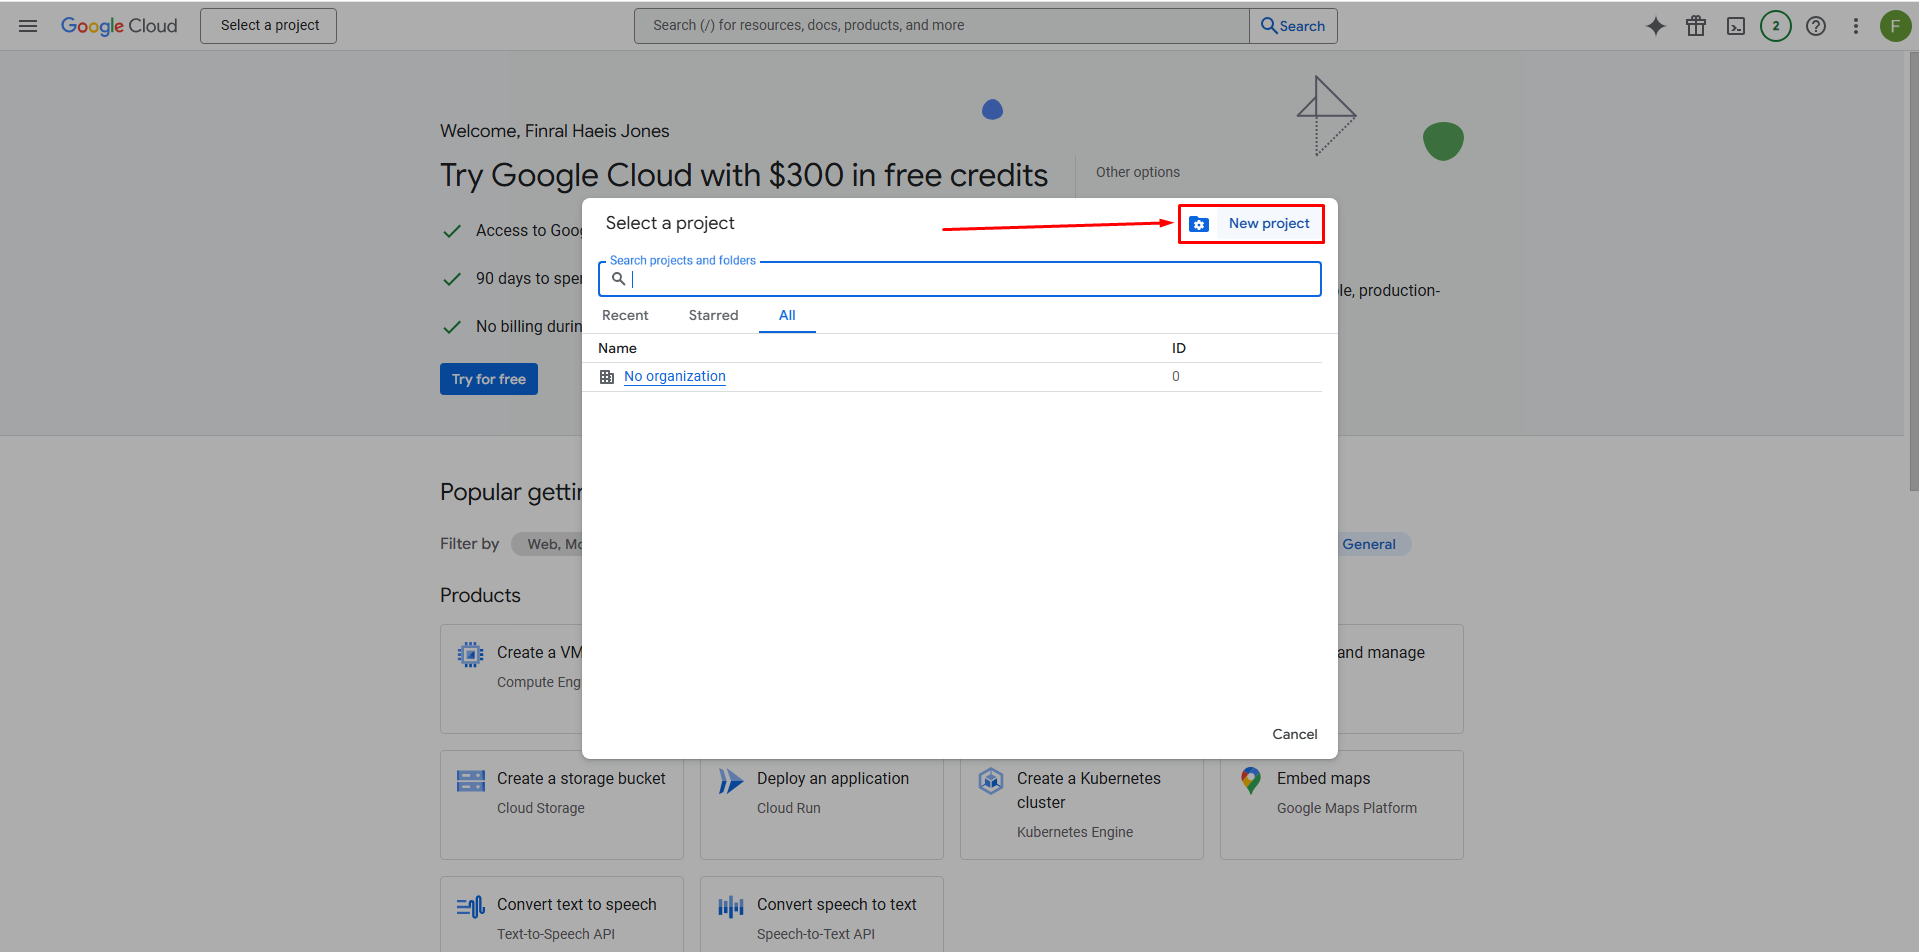
- In the pop-up, click “New Project” (top-right corner).

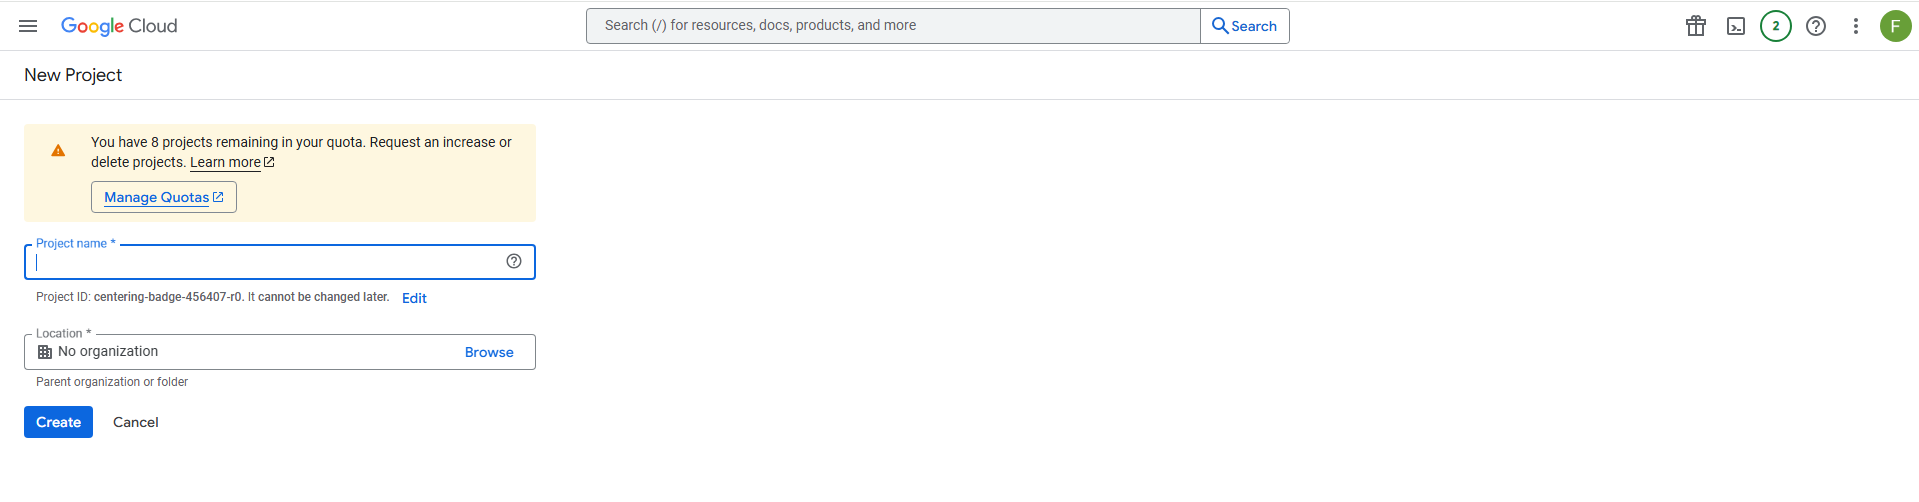
- Enter a project name, such as “ExtractMailProject,” and click “Create”. Leave the other fields as default unless you have specific requirements.

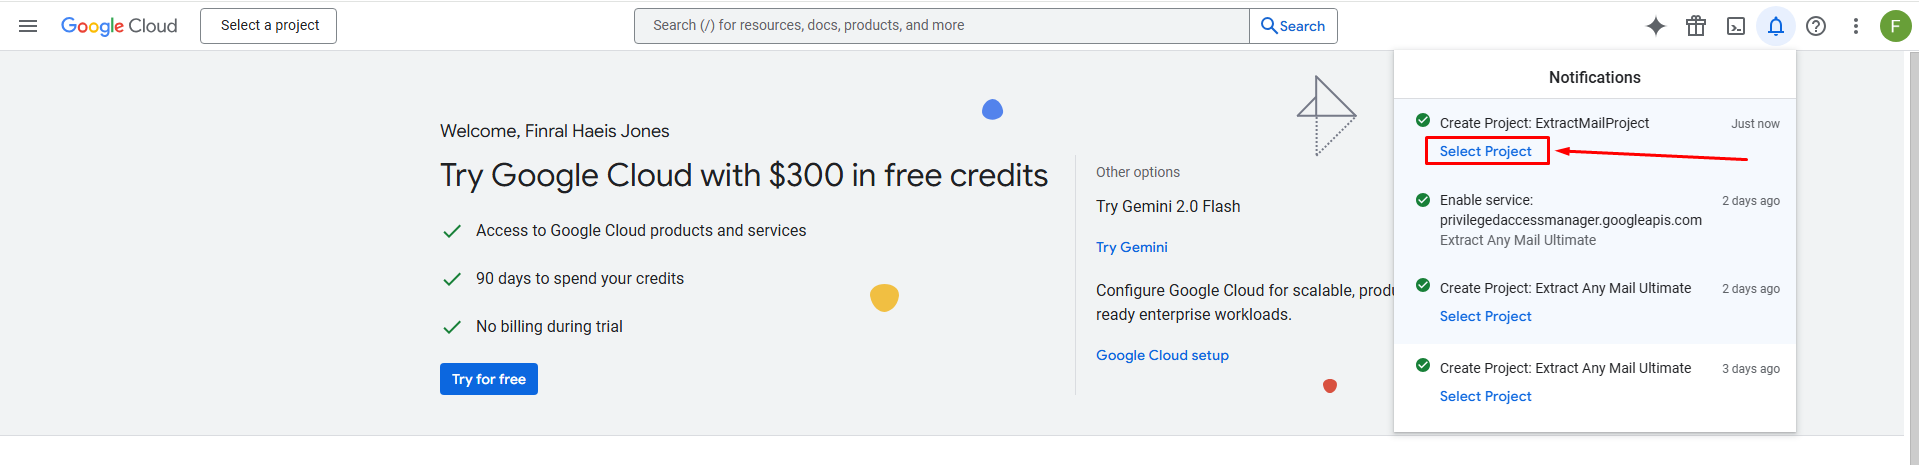
- Wait a moment for the project to be created, then select it from the dropdown to make it active.

Step 3: Enable the Gmail API
Since “Extract Any Mail Ultimate” needs to access your emails, you’ll need to enable the Gmail API
- From the left sidebar, go to “APIs & Services” > “Library”.

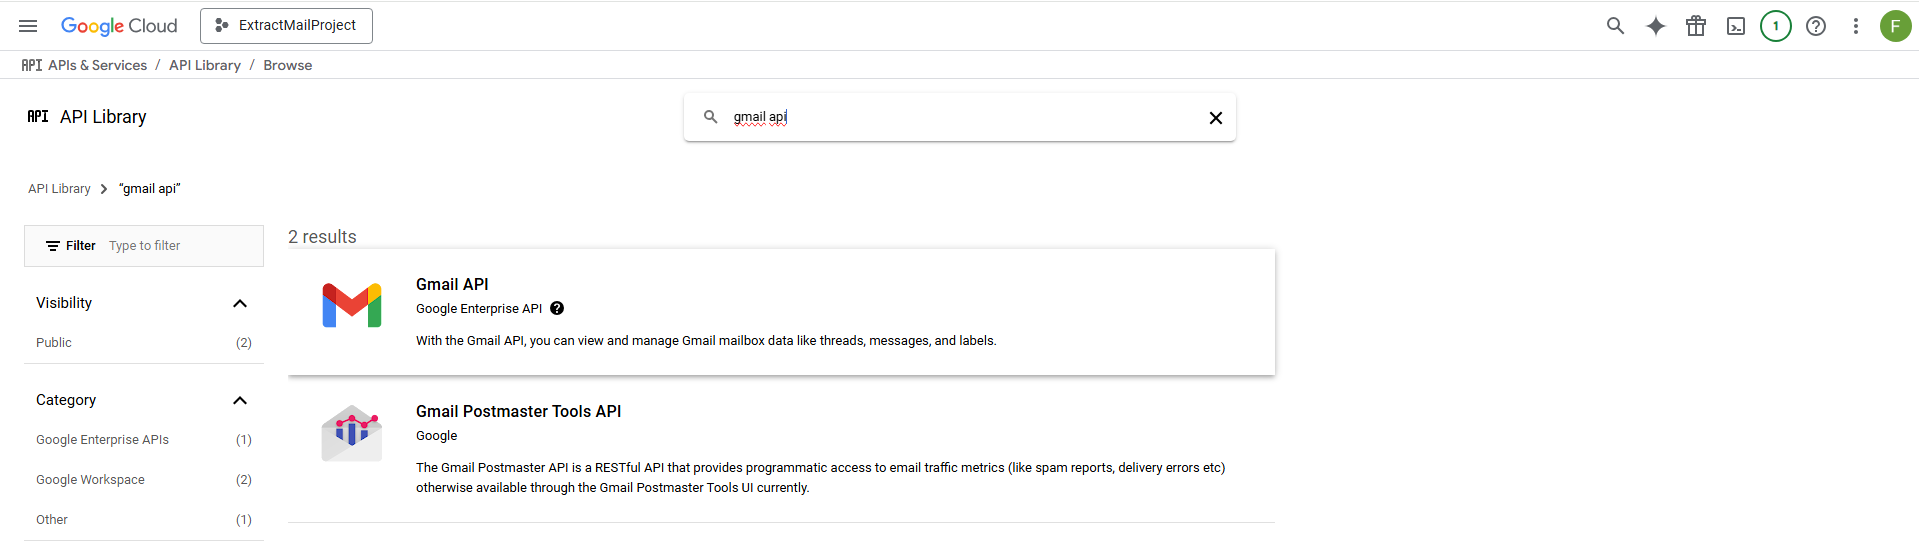
- In the search bar, type “Gmail API” and select it from the results.

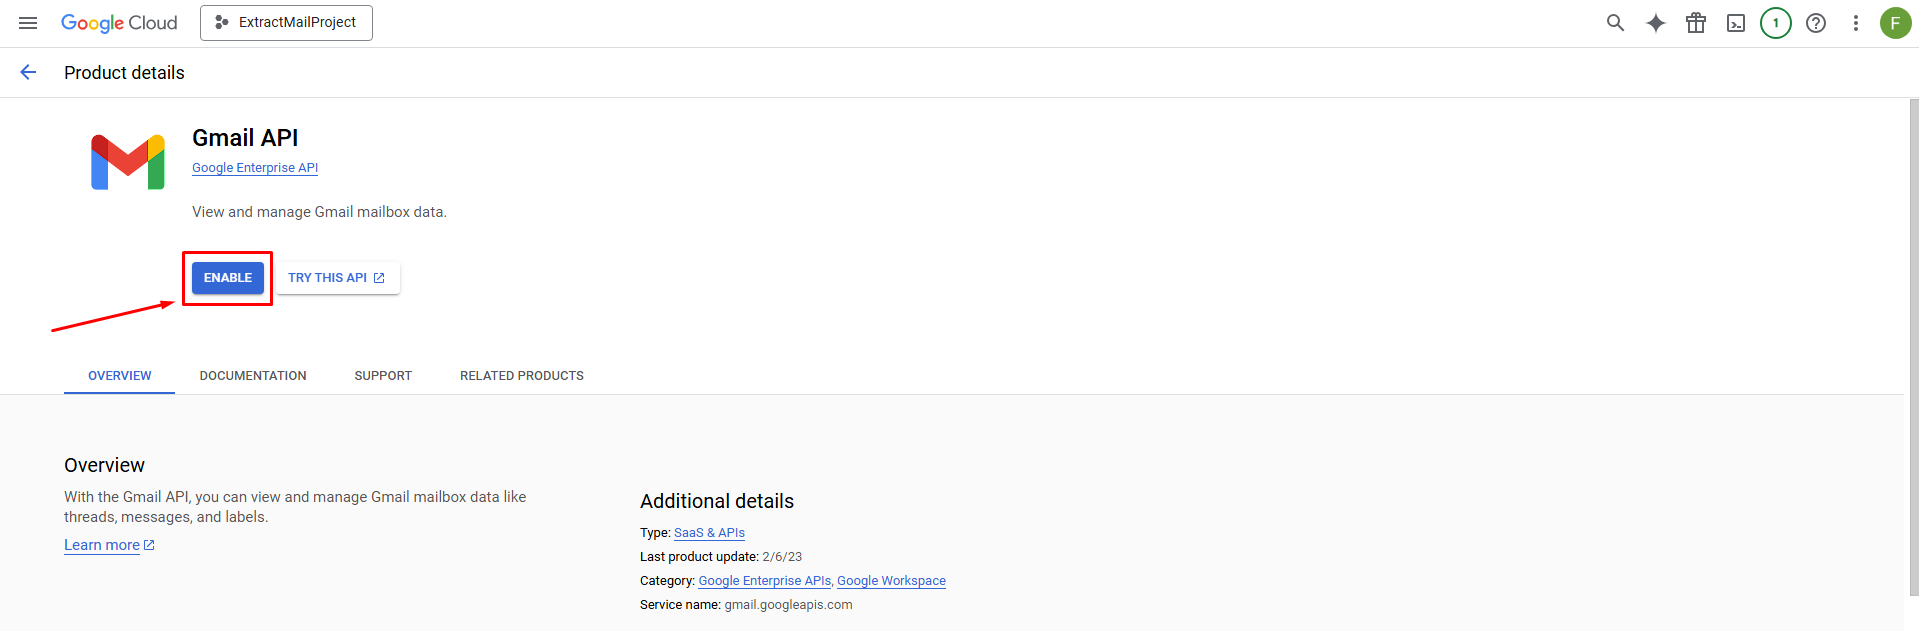
- Click “Enable” to activate the Gmail API for your project.

Step 4: Configure the OAuth Consent Screen
Google requires you to set up a consent screen that users (in this case, you) will see when granting access to the app.
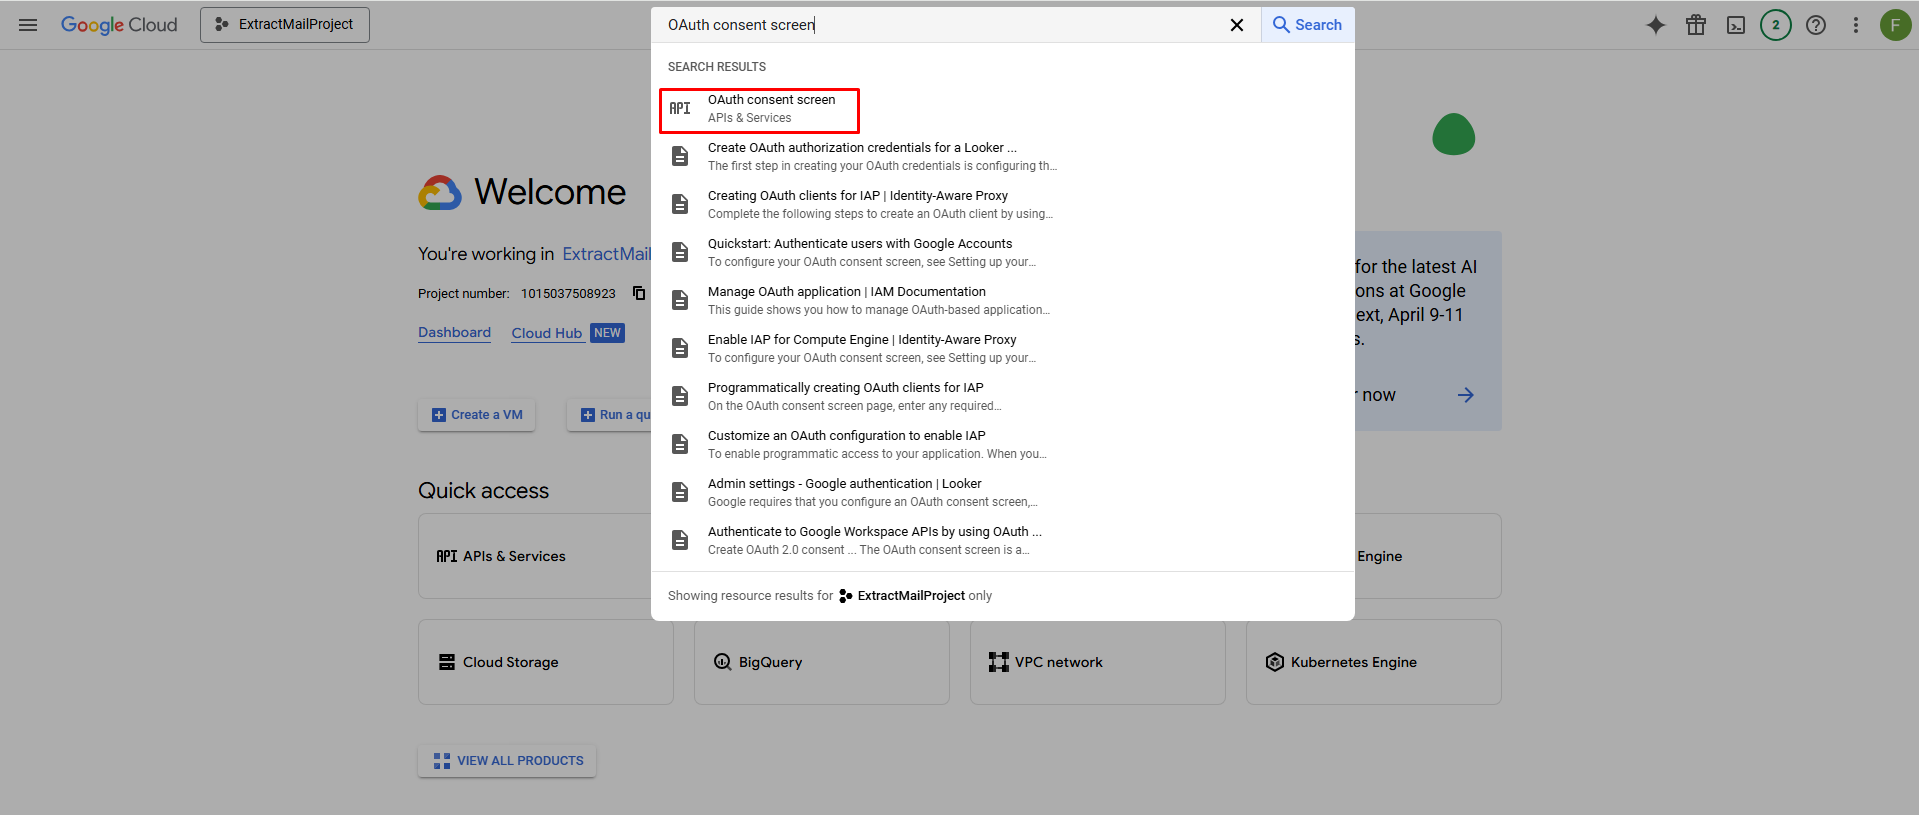
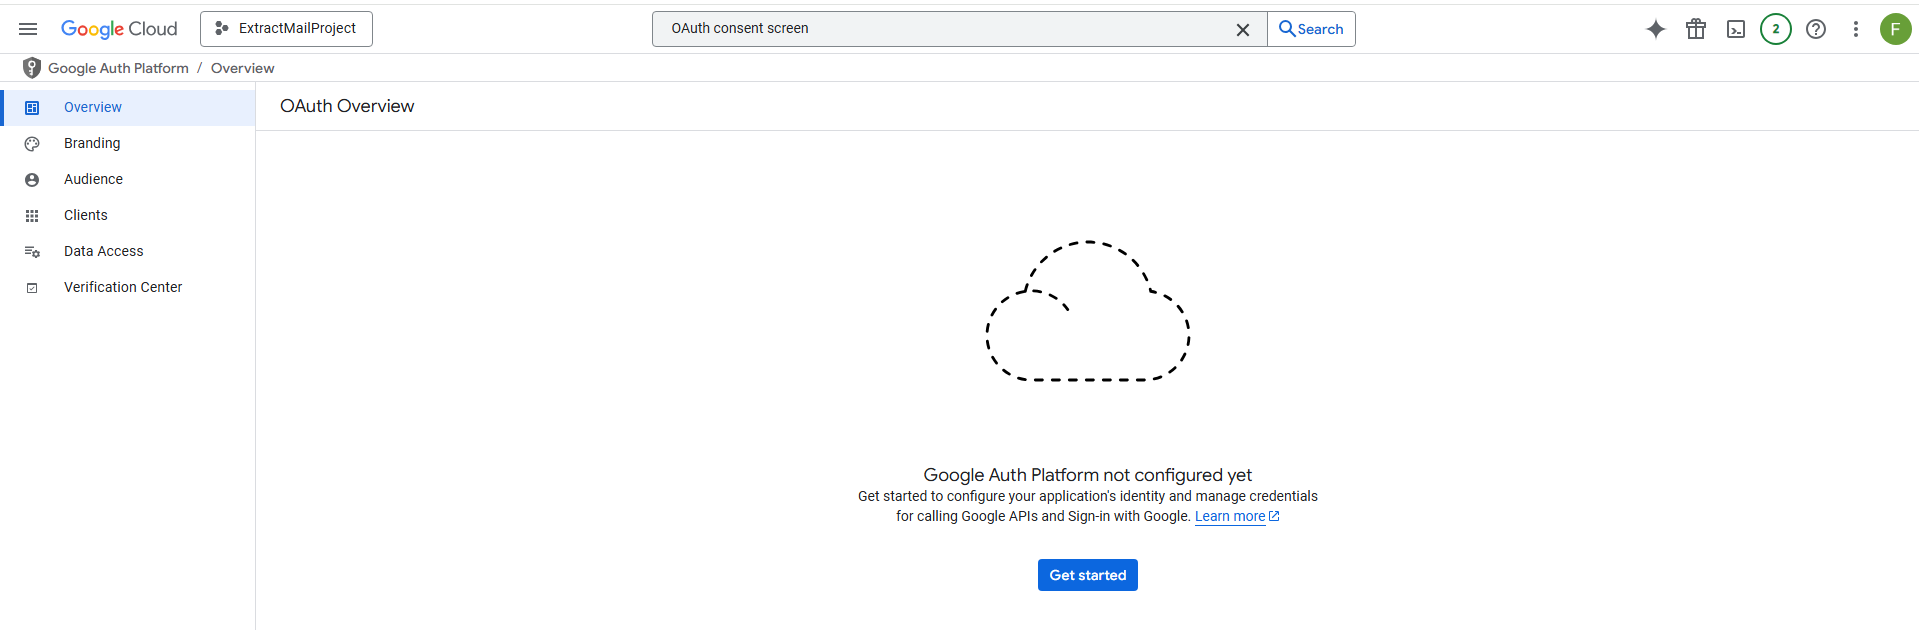
- From the left sidebar, go to “APIs & Services” > “OAuth consent screen”. Or search “OAuth consent screen”.

It will show this page.

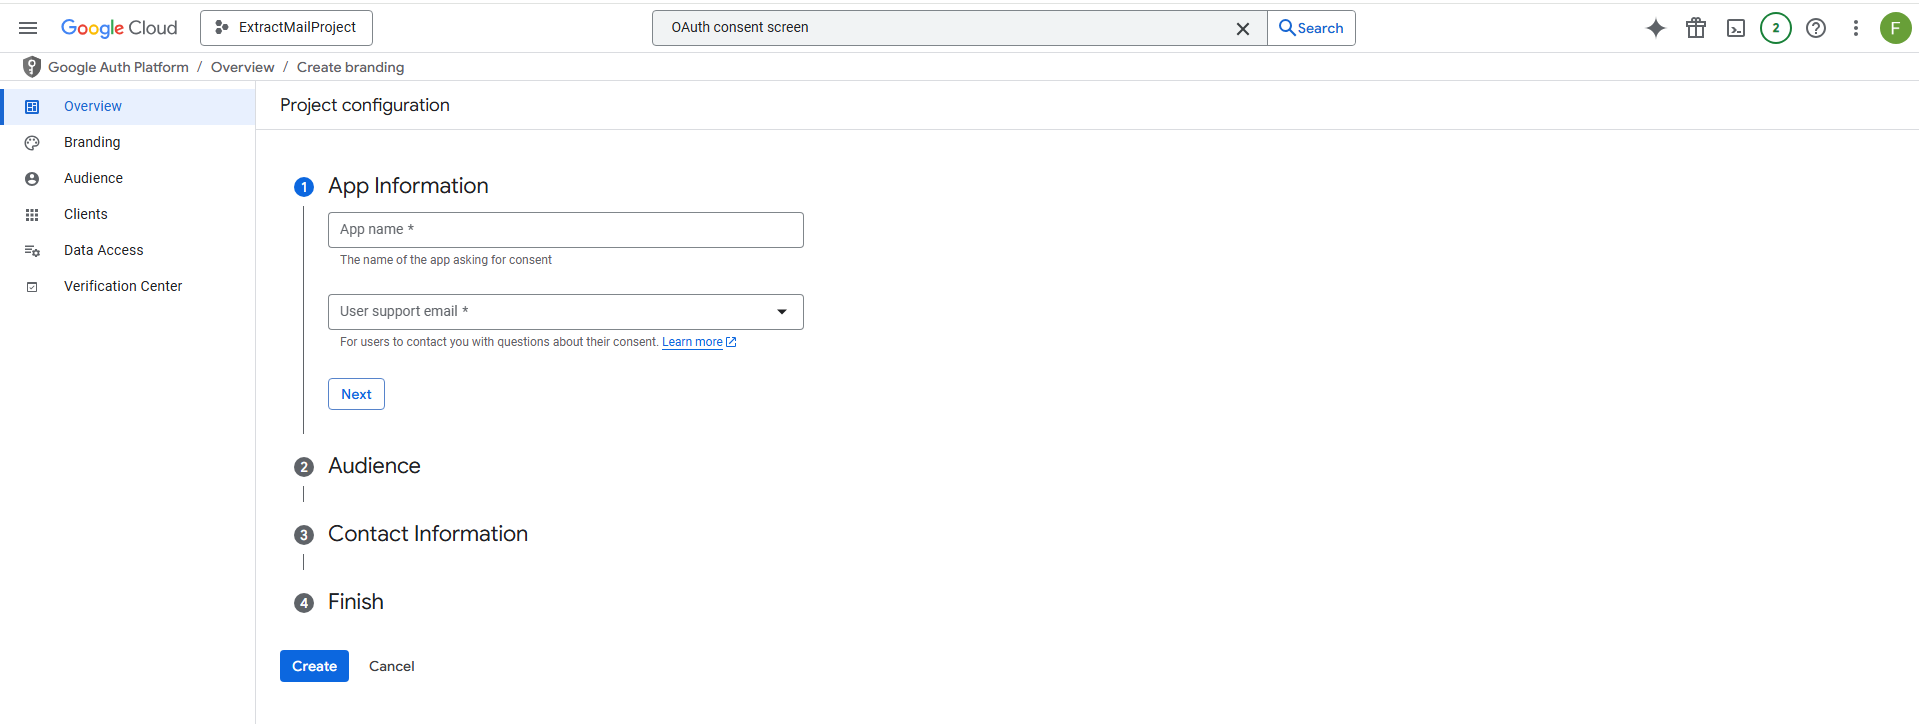
- Choose “External” as the User Type (since this is a personal project), then click “Create”
- Fill in the required fields:
- App name: Enter something like “Extract Any Mail Ultimate”.
- App name: Enter something like “Extract Any Mail Ultimate”.
- Developer contact information: Use your Gmail address again.

- Leave optional fields blank unless needed, then click “Save and Continue”.
- Optional – On the “Scopes” page, click “Add or Remove Scopes”, and manually add
- https://www.googleapis.com/auth/gmail.readonly (to allow reading emails without modifying them).
- Optionally, add https://mail.google.com/ if the software needs full access.
- Click “Update”, then “Save and Continue”.
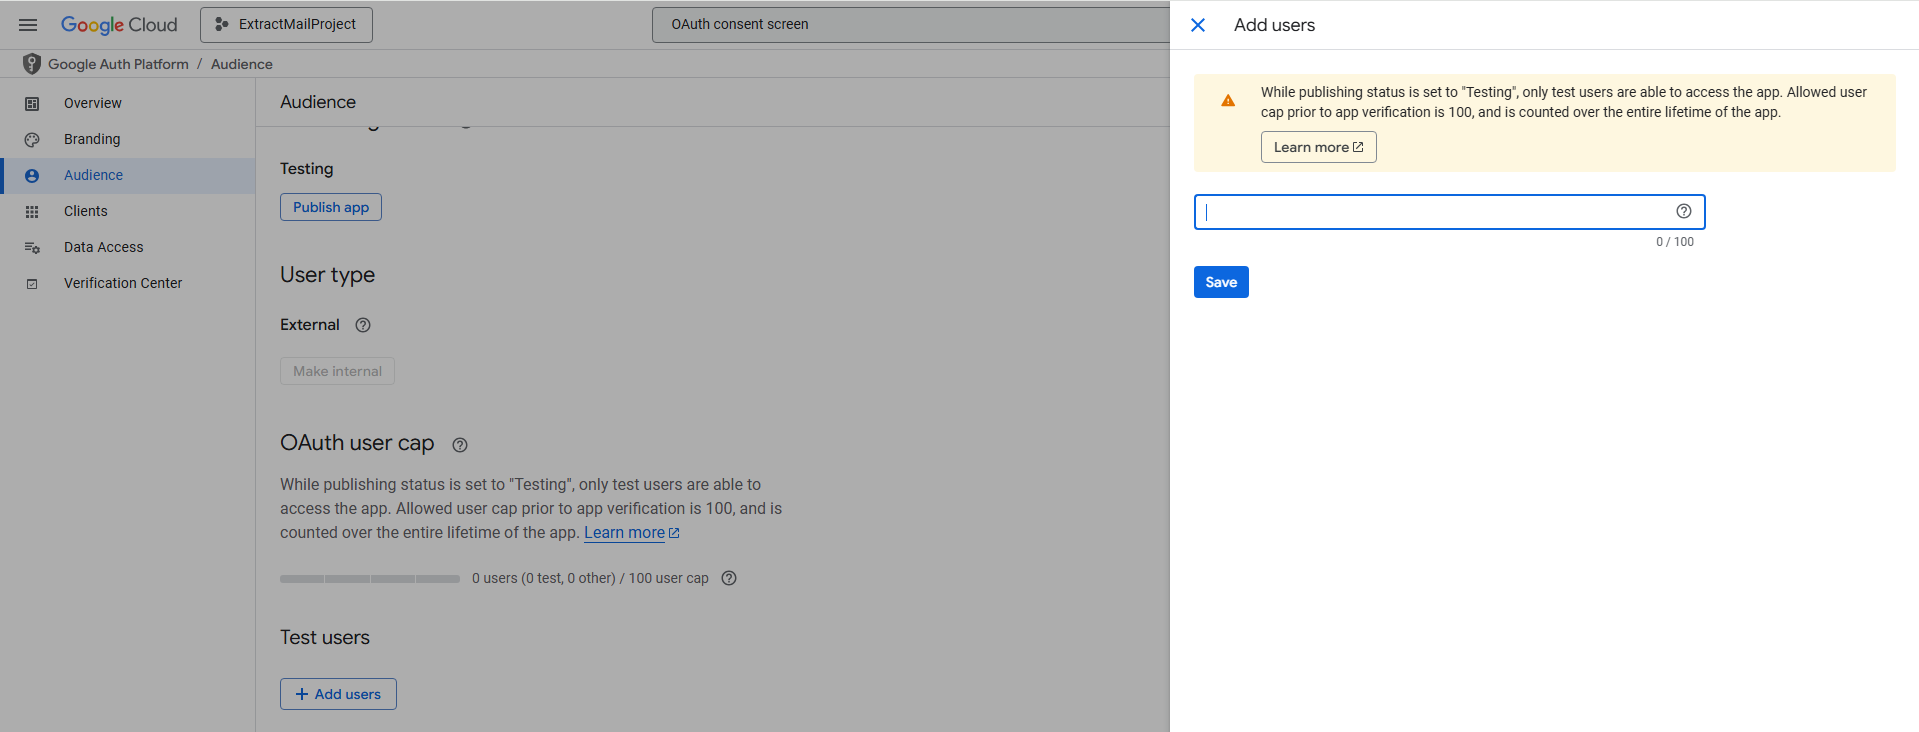
- On the “Test Users” page, add your Gmail address as a test user (since you’re using it personally), then click “Save and Continue”.

- Review the summary and click “Back to Dashboard”.
Step 5: Create OAuth Credentials (Client ID and Client Secret)
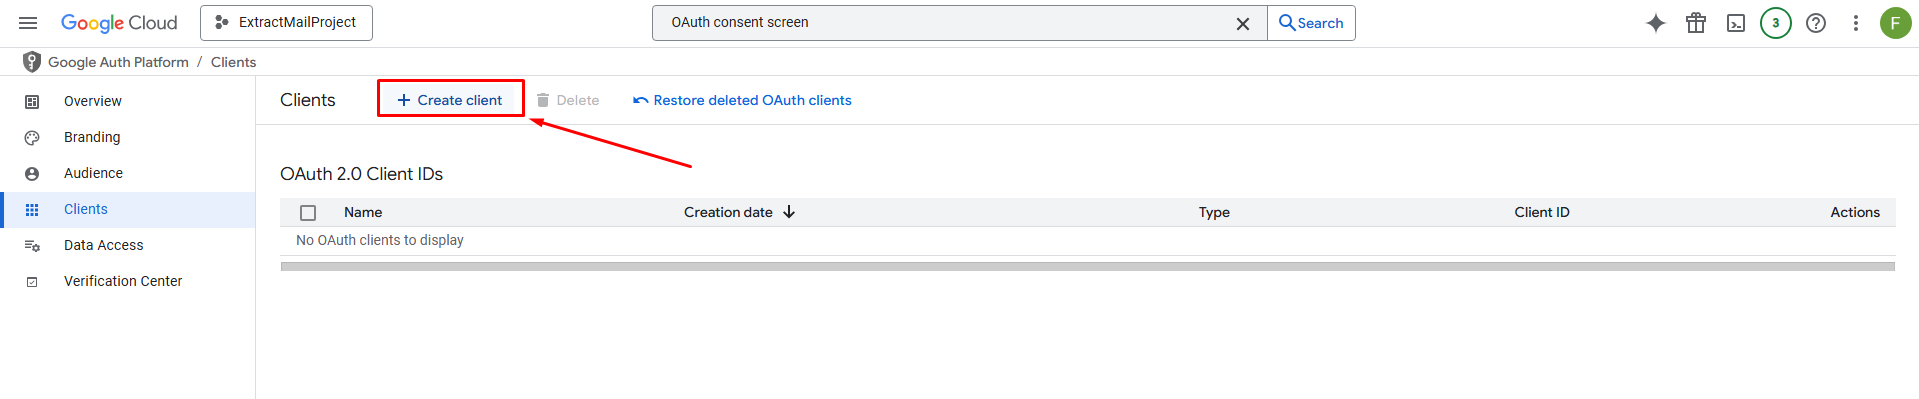
- From the left sidebar, go to “APIs & Services” > “Credentials”
- Click “Create Credentials” at the top, then select “OAuth client ID”.

- For “Application type,” choose “Desktop app” (since “Extract Any Mail Ultimate” is likely a desktop software).
- Enter a name, like “ExtractMailCredentials,” and click “Create”.
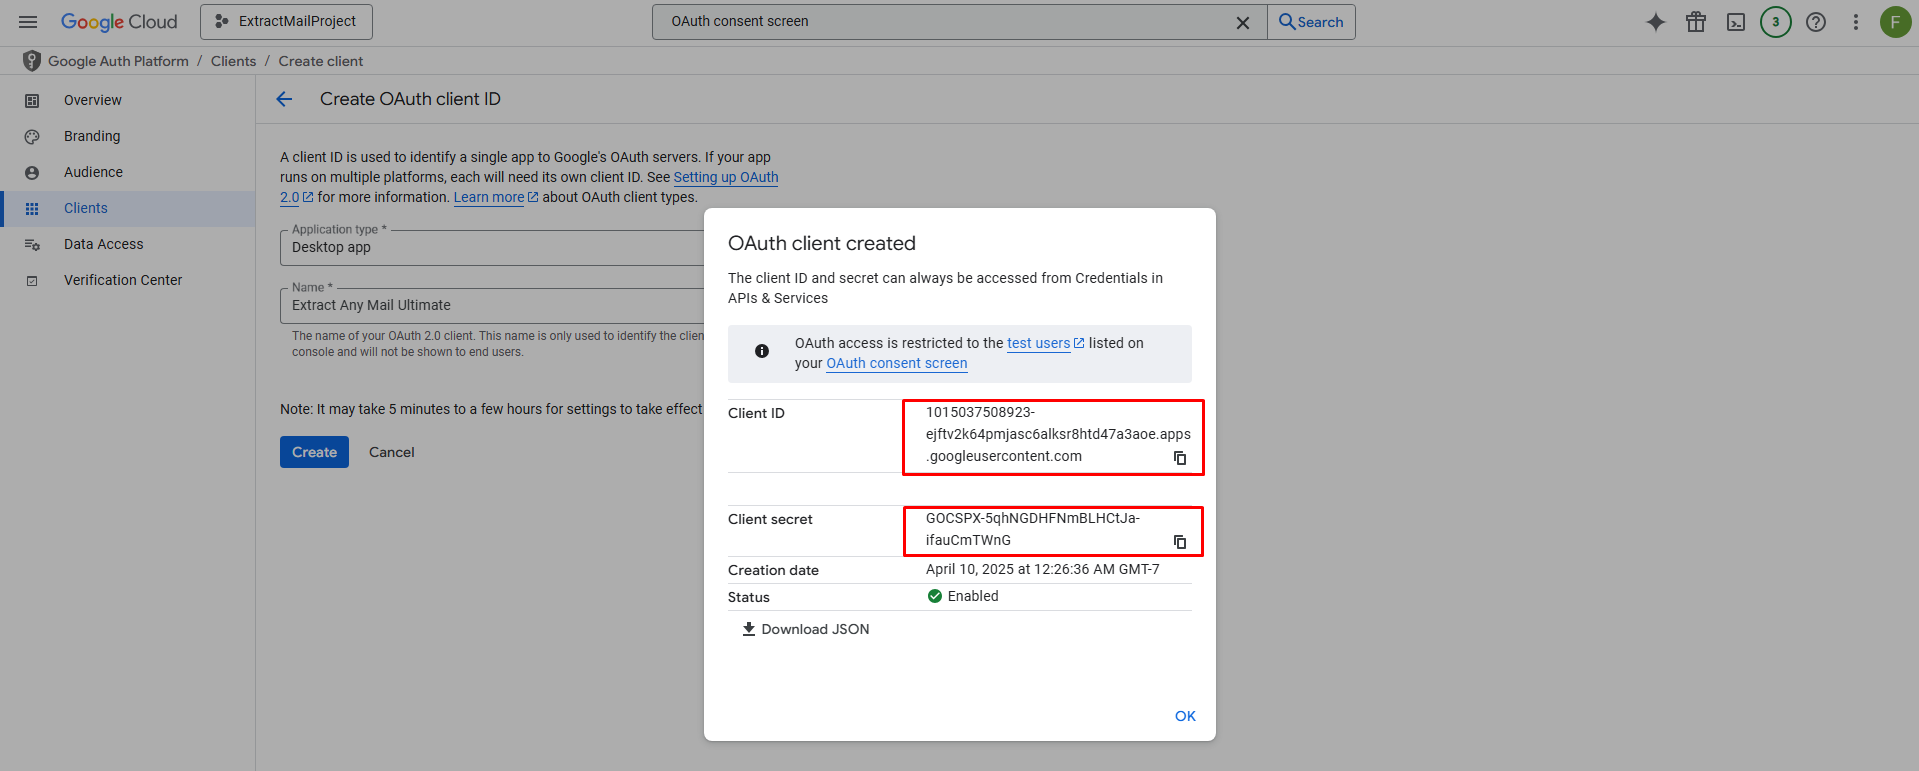
- A pop-up will display your Client ID and Client Secret. Copy both values and save them somewhere secure (e.g., a text file or password manager).
- Client ID looks like: 123456789012-abcde12345fghij67890.apps.googleusercontent.co
- Client Secret looks like: GOCSPX-abc123xyz789

- If you miss the pop-up, you can find these later under “OAuth 2.0 Client IDs” on the Credentials page by clicking the credential name.
Step 6: Enter Credentials into “Extract Any Mail Ultimate”
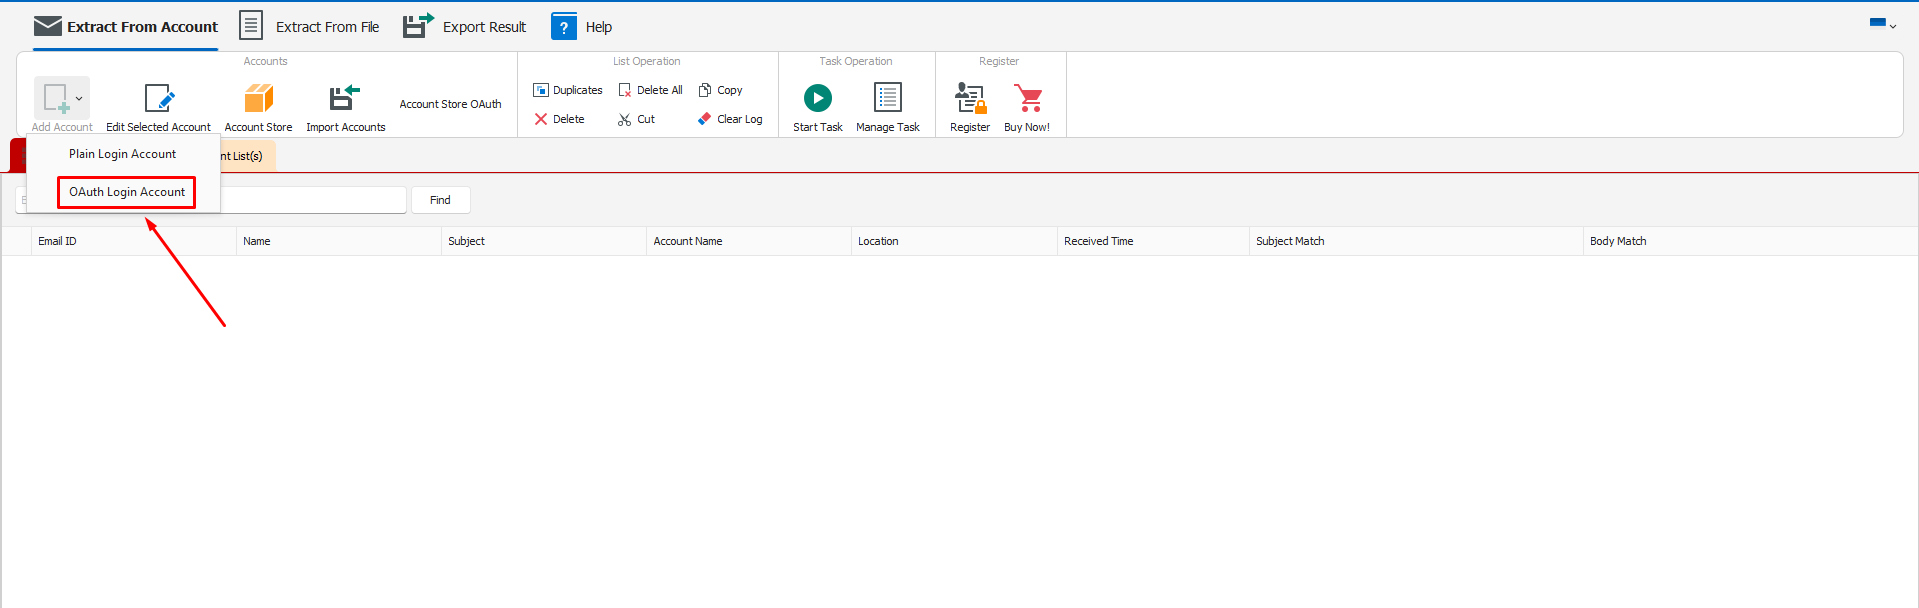
- Open “Extract Any Mail Ultimate” on your computer.

- Navigate to the settings or authentication section where it requests the Client ID and Client Secret.

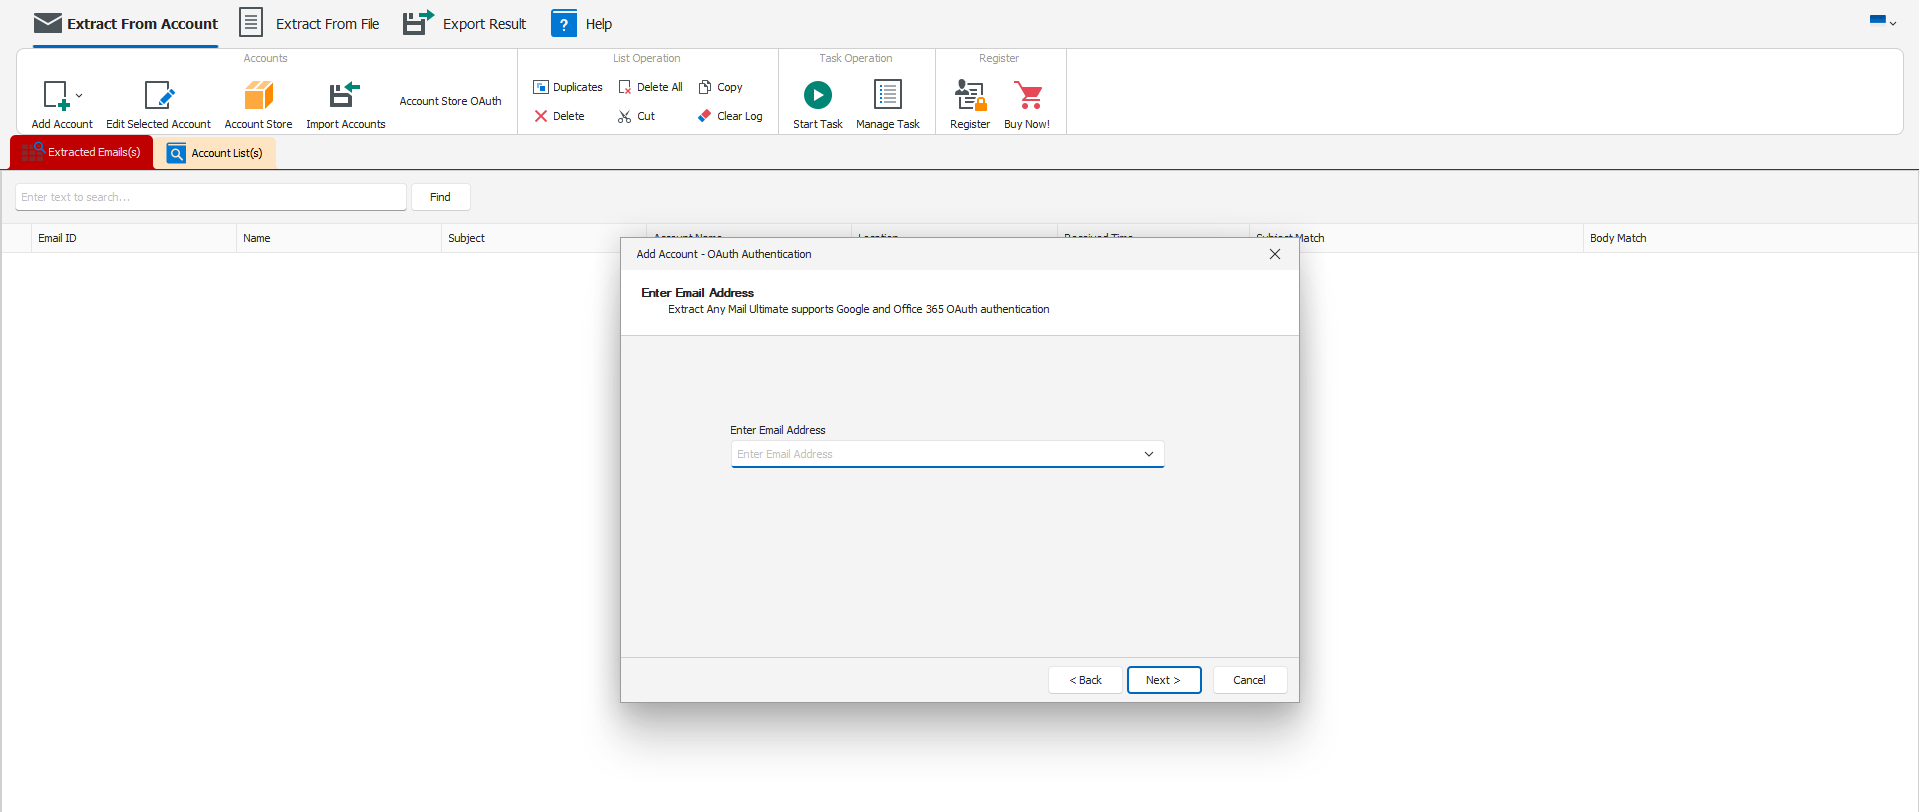
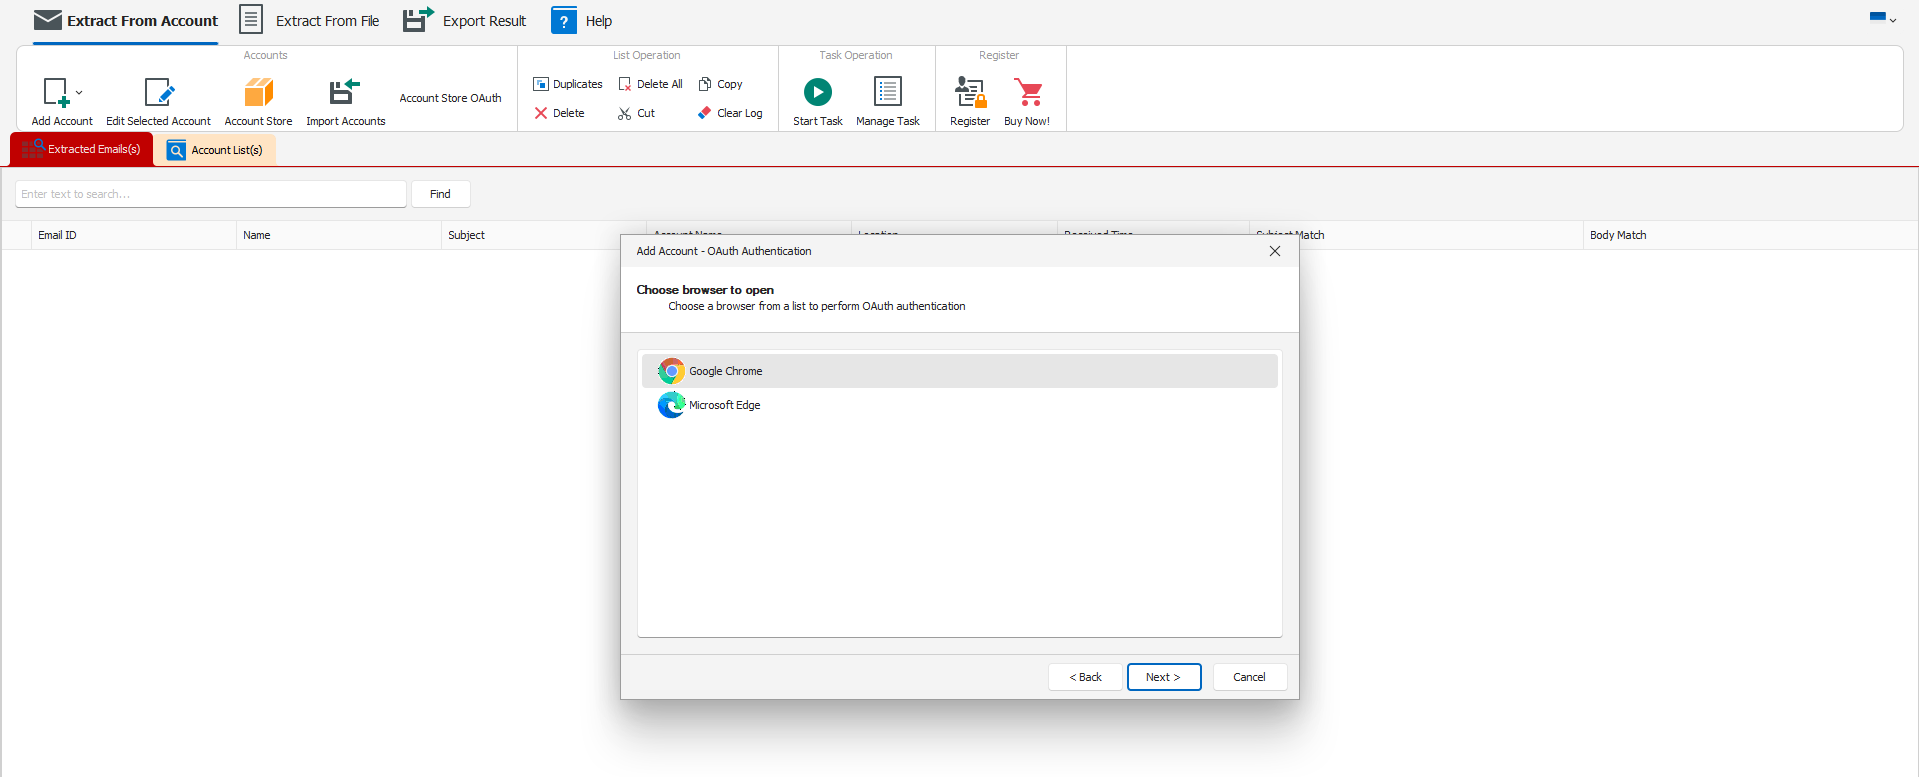
- Enter the email address that you want to extract from.

- Choose a browser where you have logged into the email account.

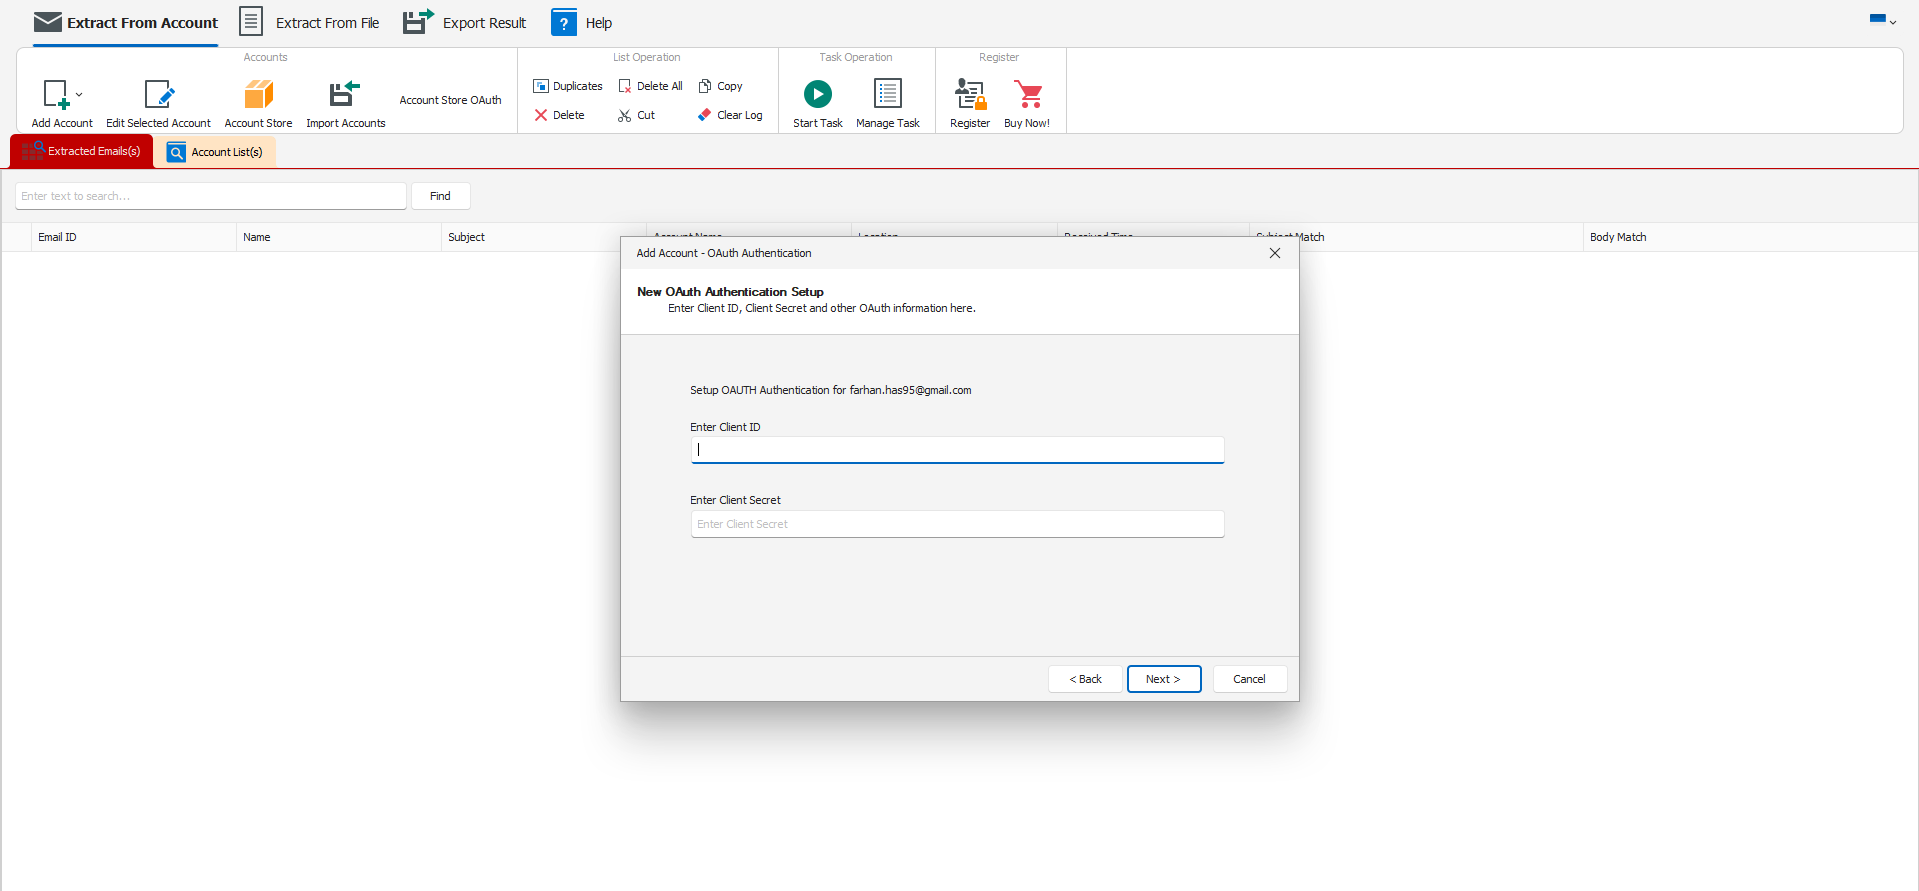
- Enter the Client ID and Client Secret.

- Follow any additional prompts in the software (e.g., it might ask you to log in to your Google account and authorize the app).
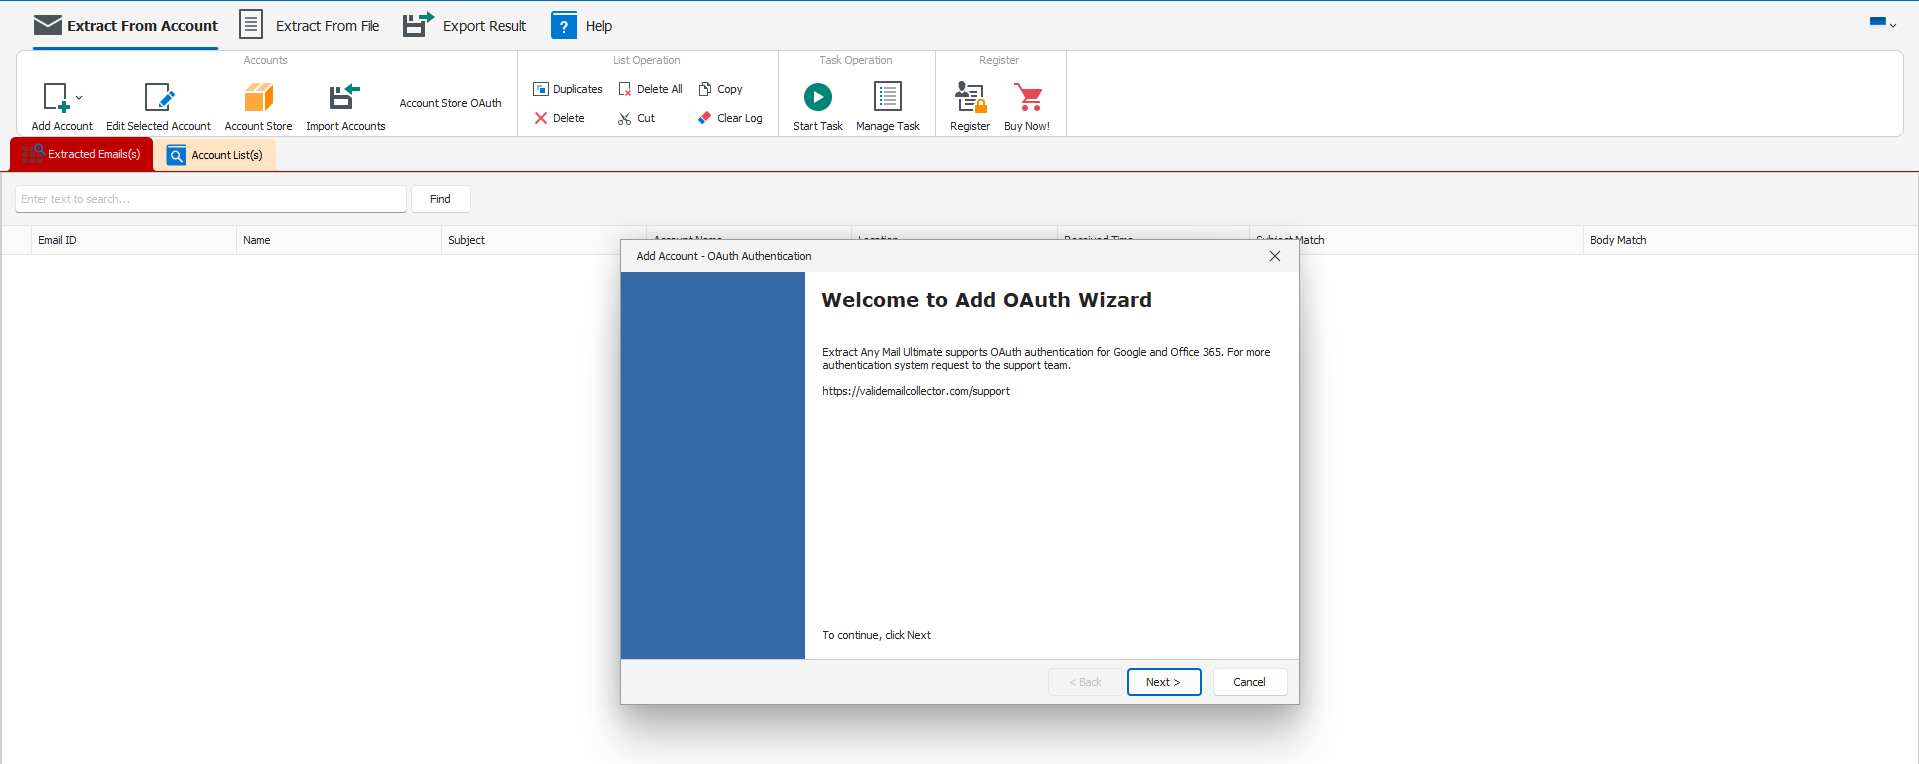
Step 7: Authorize the App
When you first connect the software to your Google account:
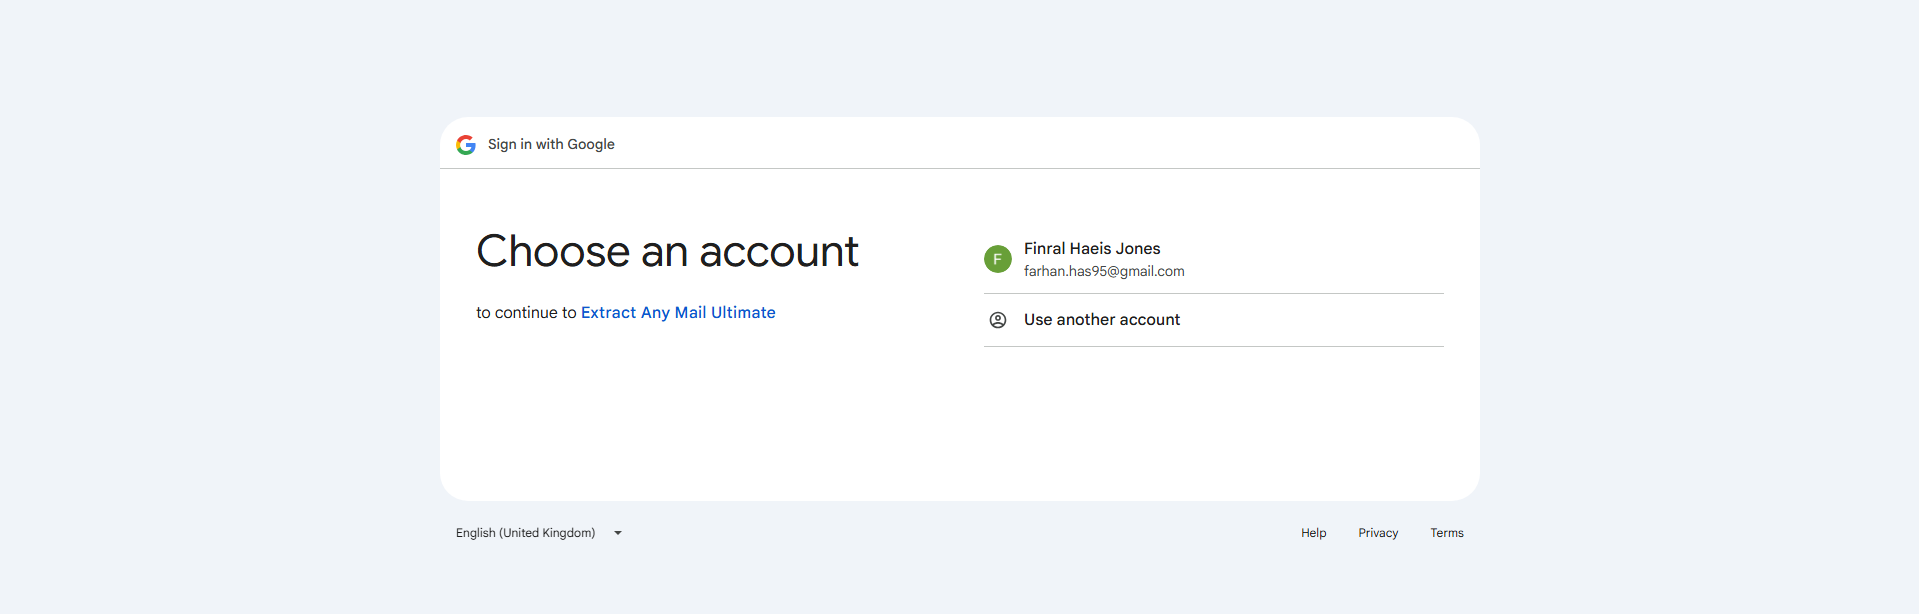
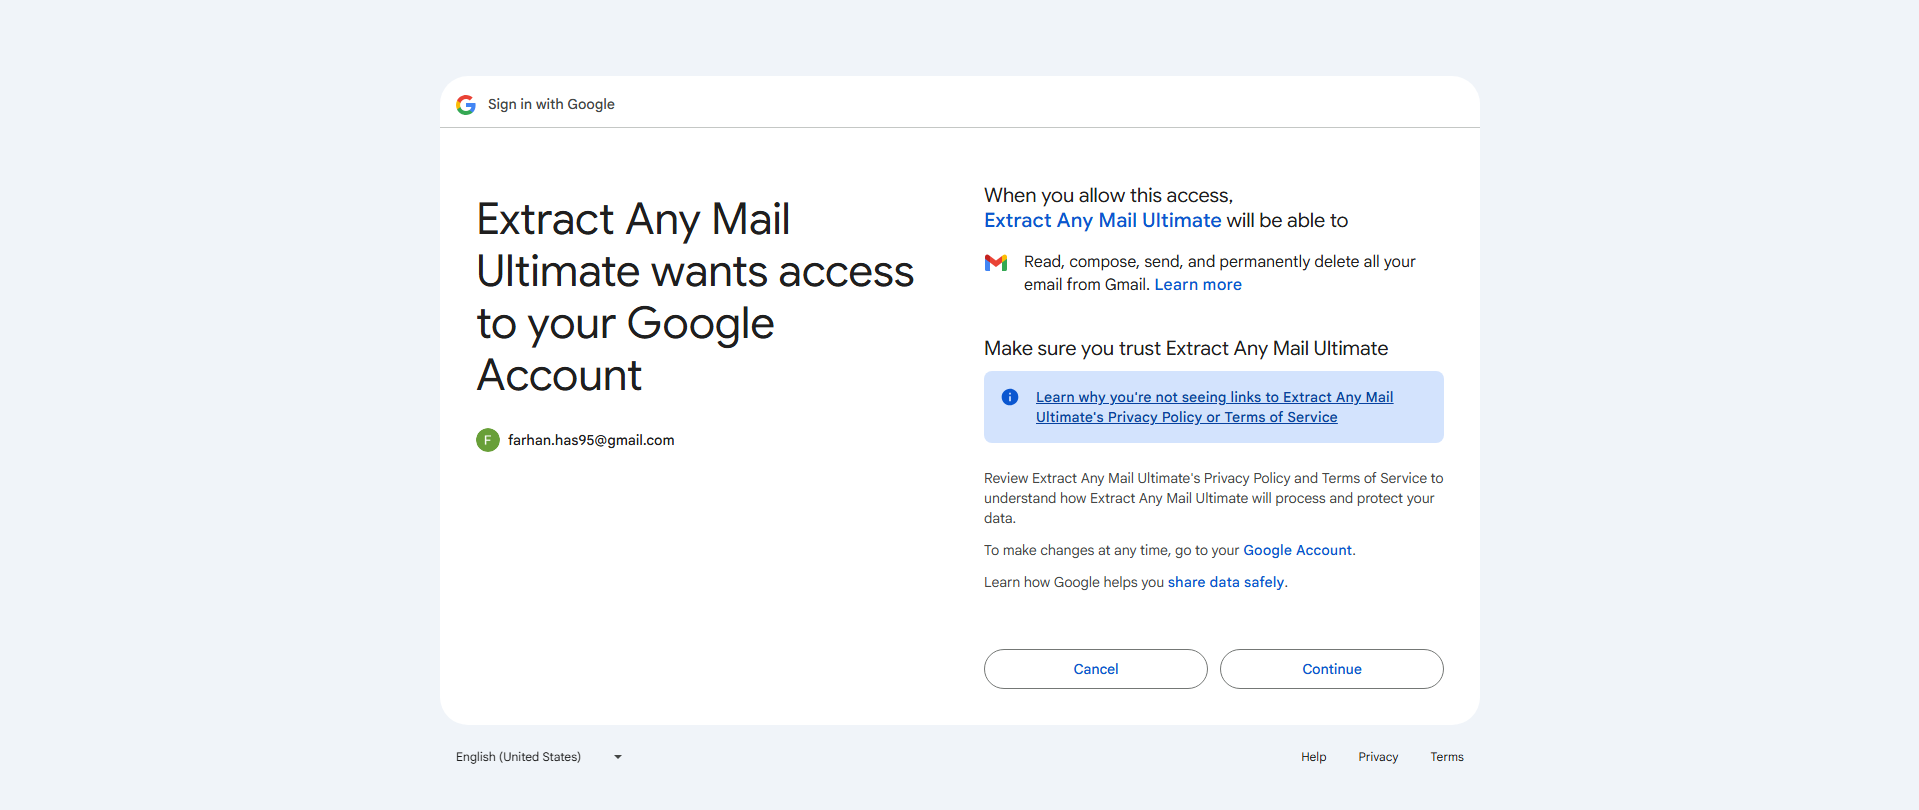
- It may redirect you to a Google login page in your browser.

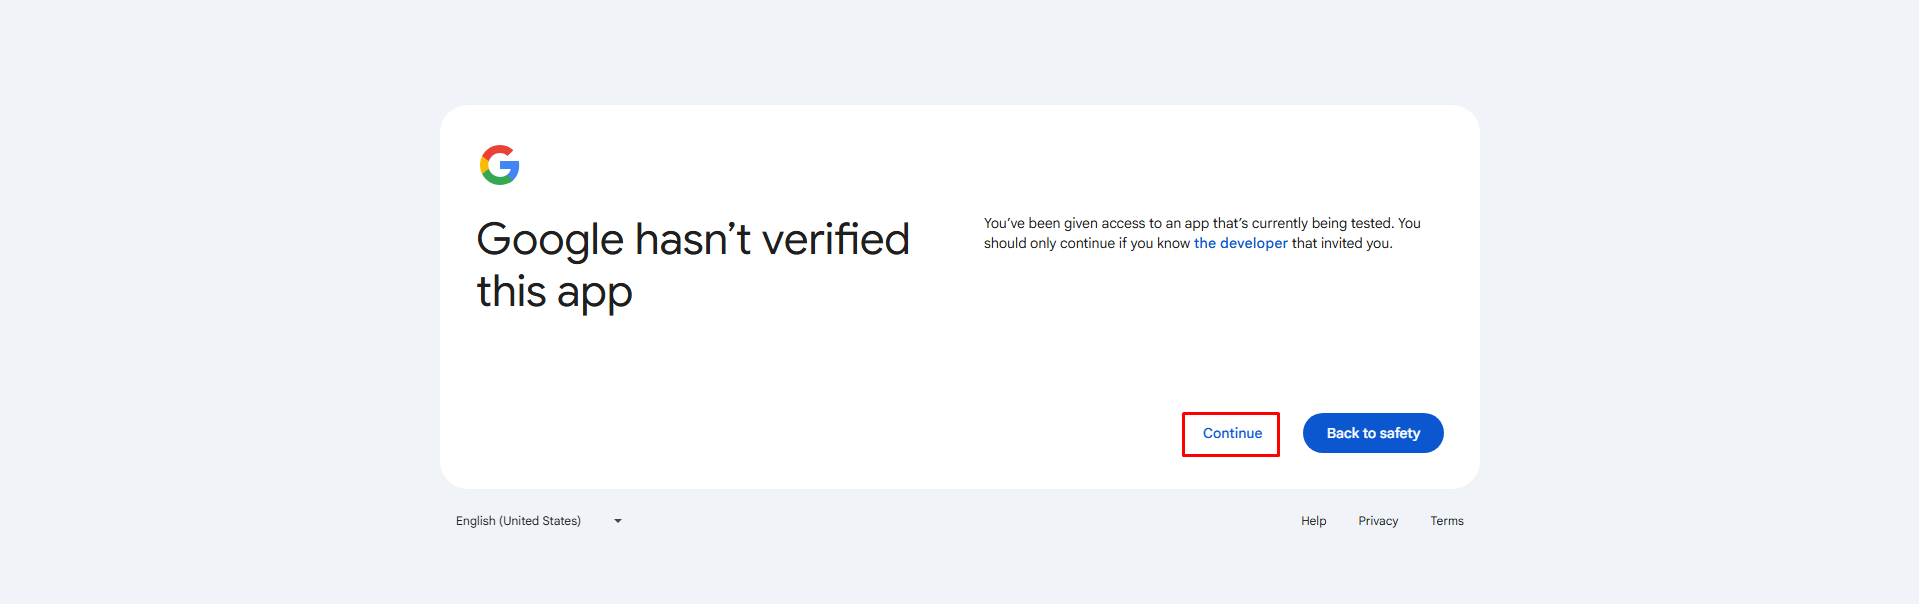
- Sign in with your Google account and review the permissions (e.g., “See your emails”). It may show the app isn’t verified, click “Continue”.

- Click “Continue” to grant access.

- The software should now be authorized and ready to extract email addresses.

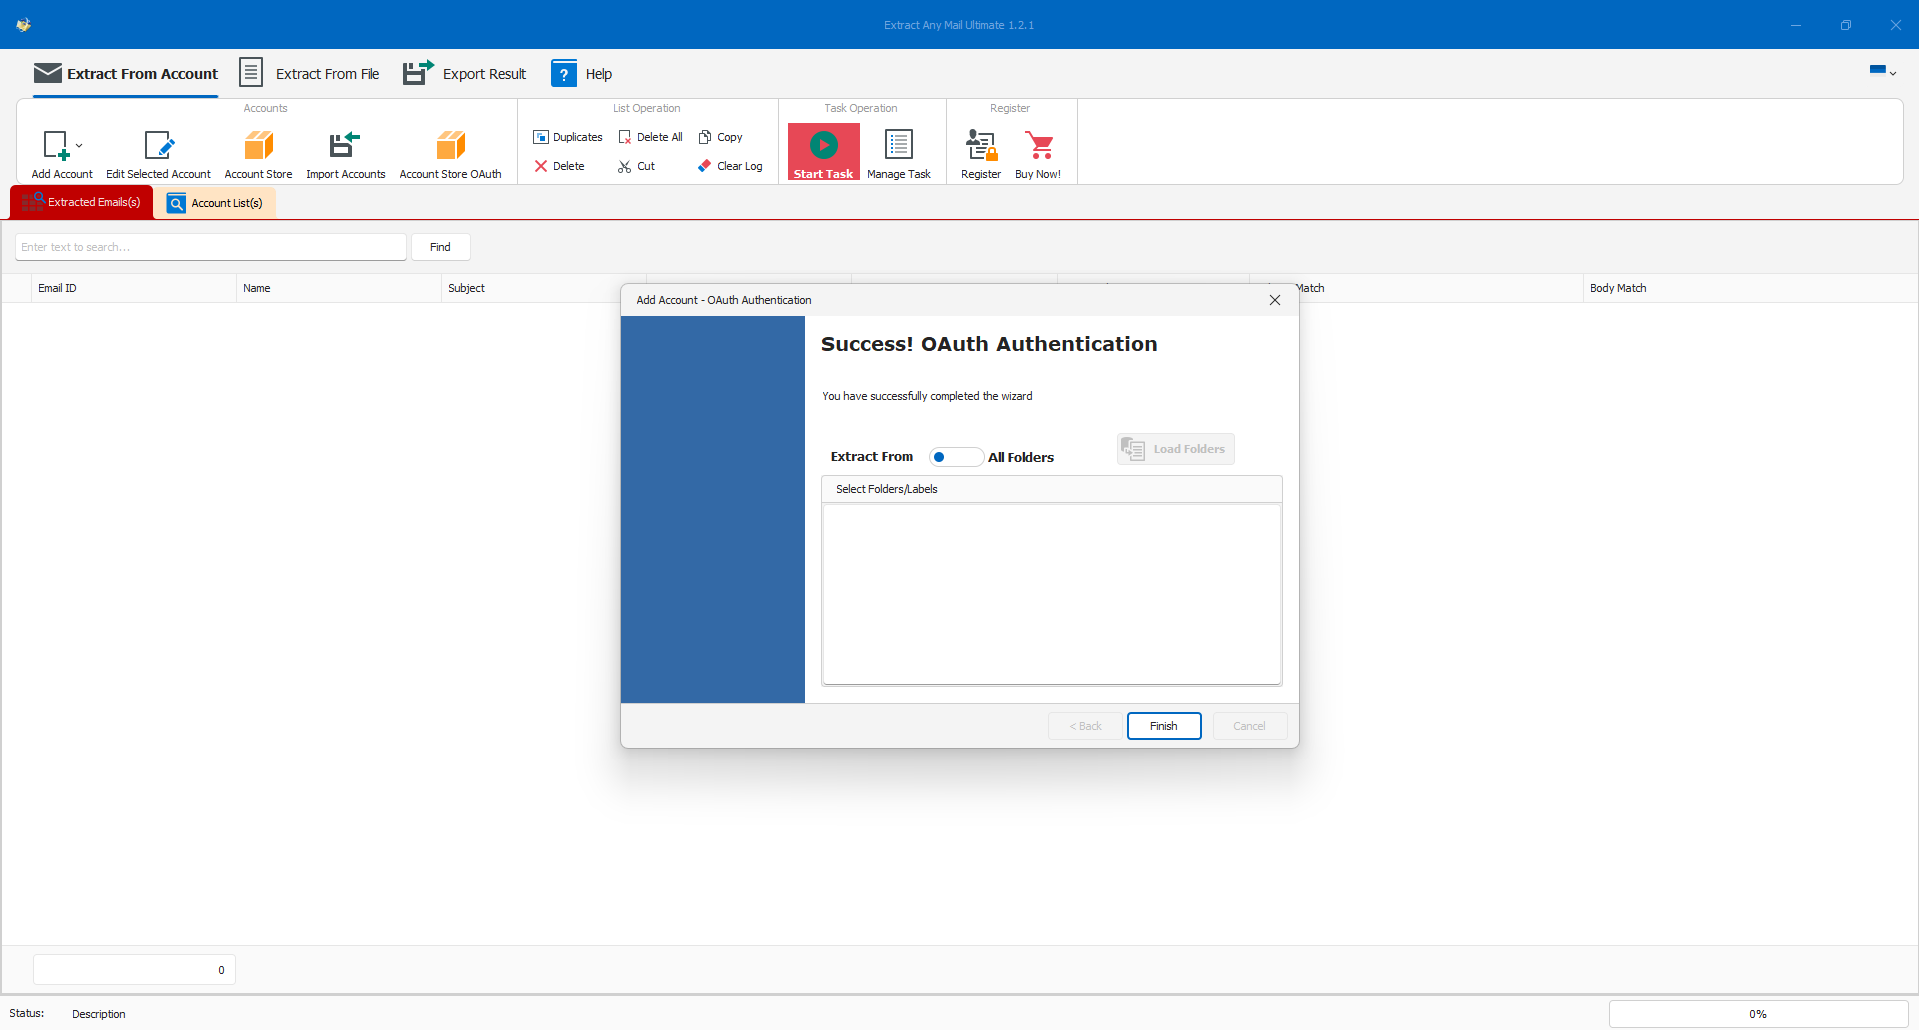
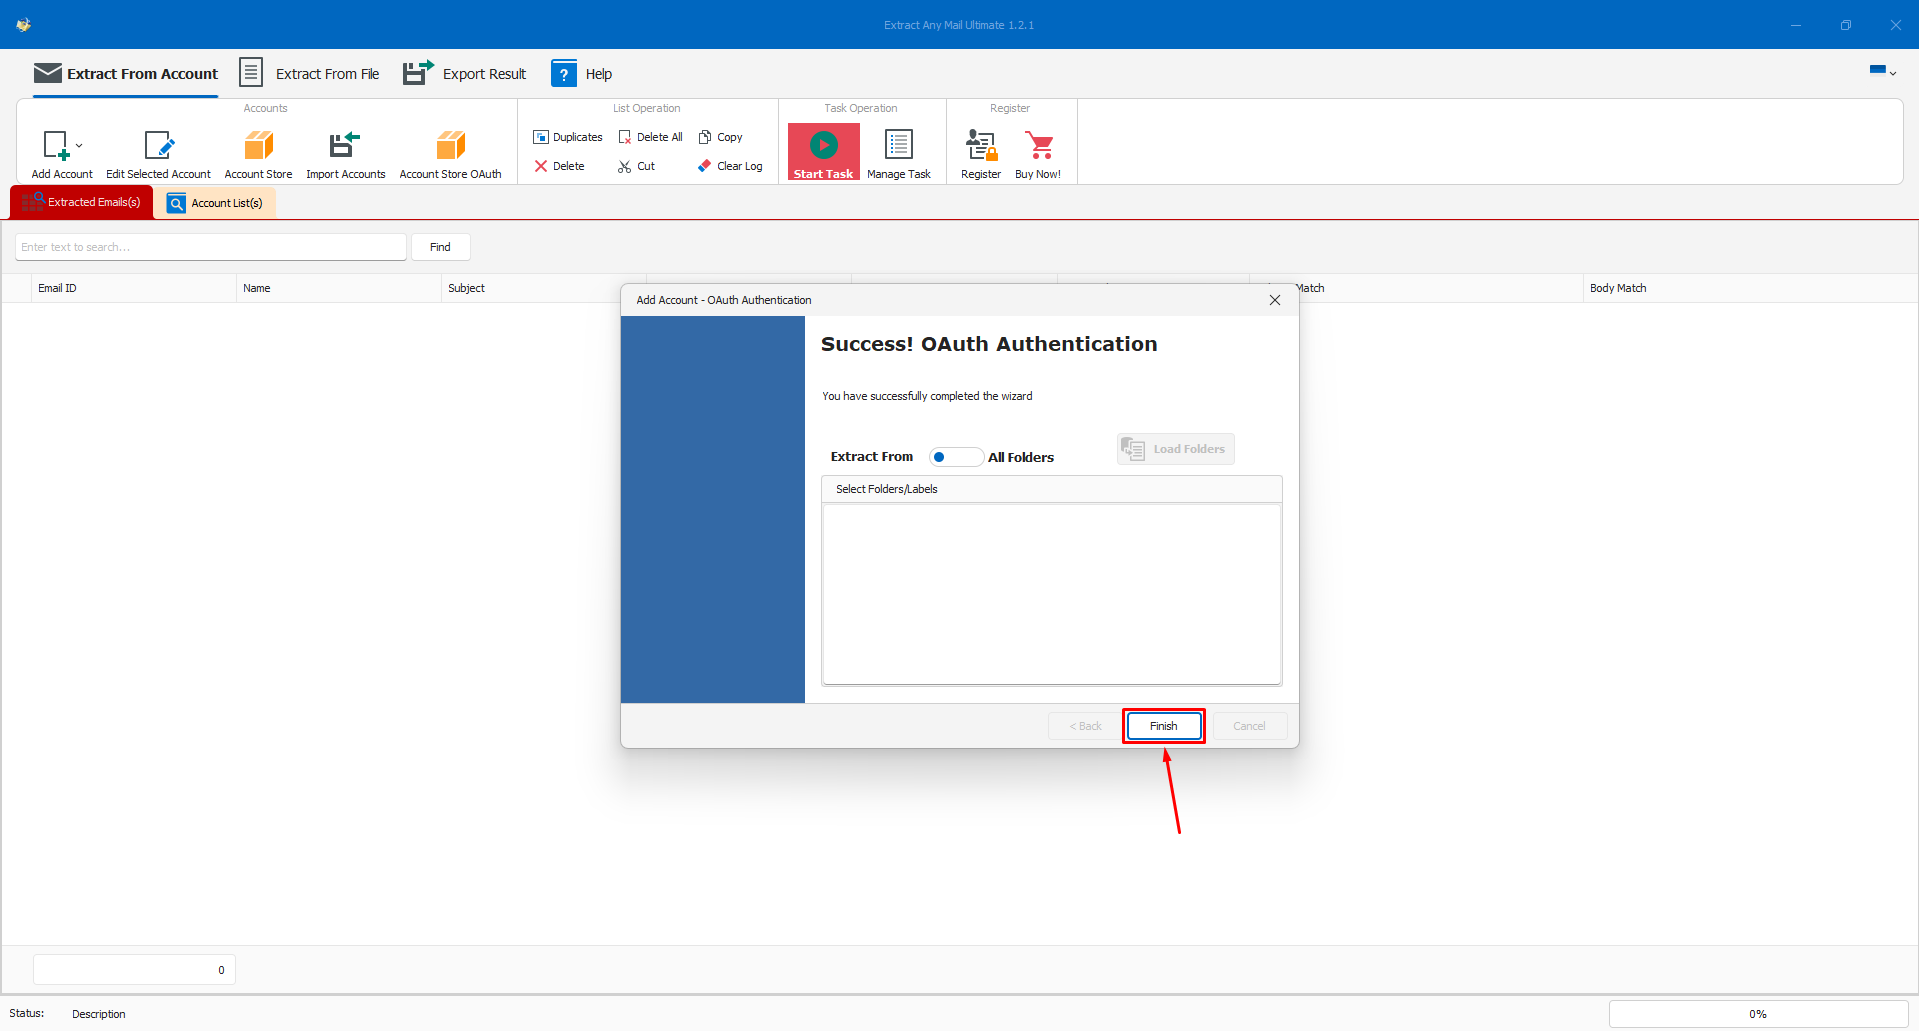
- Go to the software and you will see “Success! OAuth Authentication”.

- Now click the “Finish” option to add the account for extraction. It will extract from all folders of the email account.

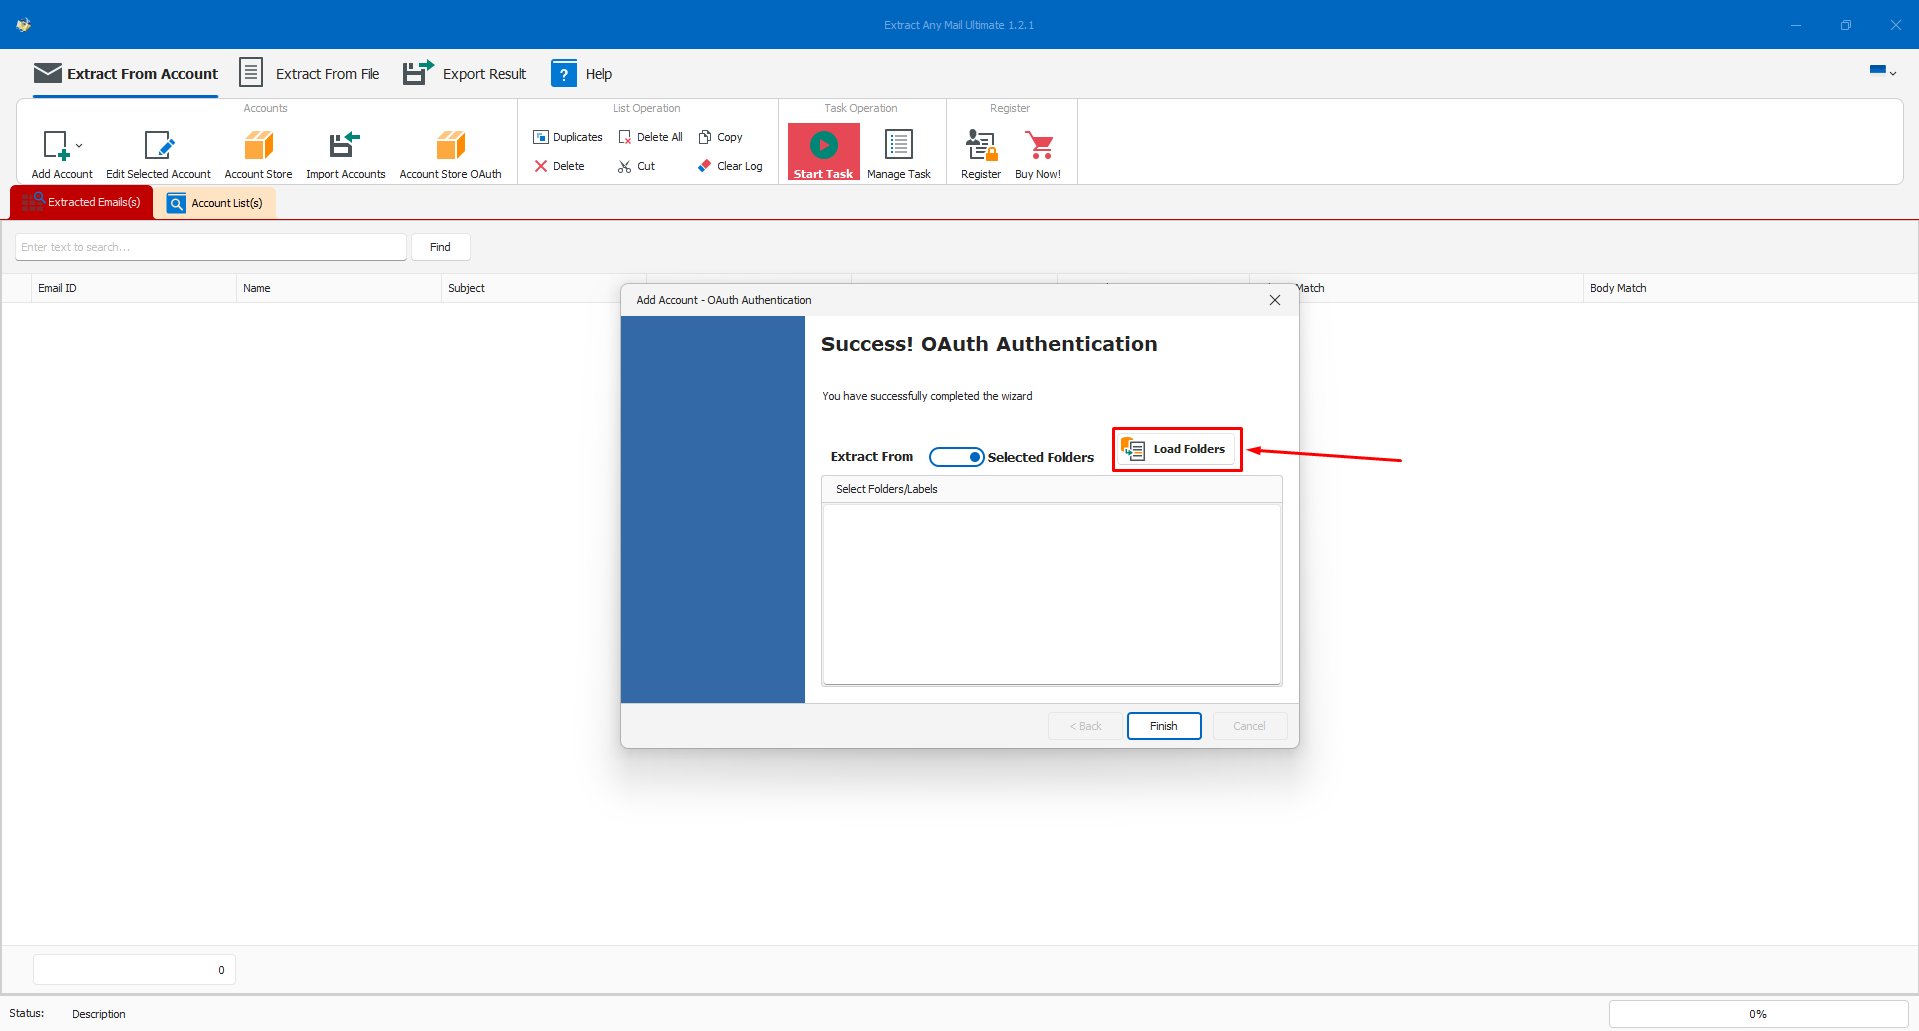
- If you want to extract from a particular folder, toggle “All Folders” option and use the “Load Folders” option to load all available folders of that particular email account.
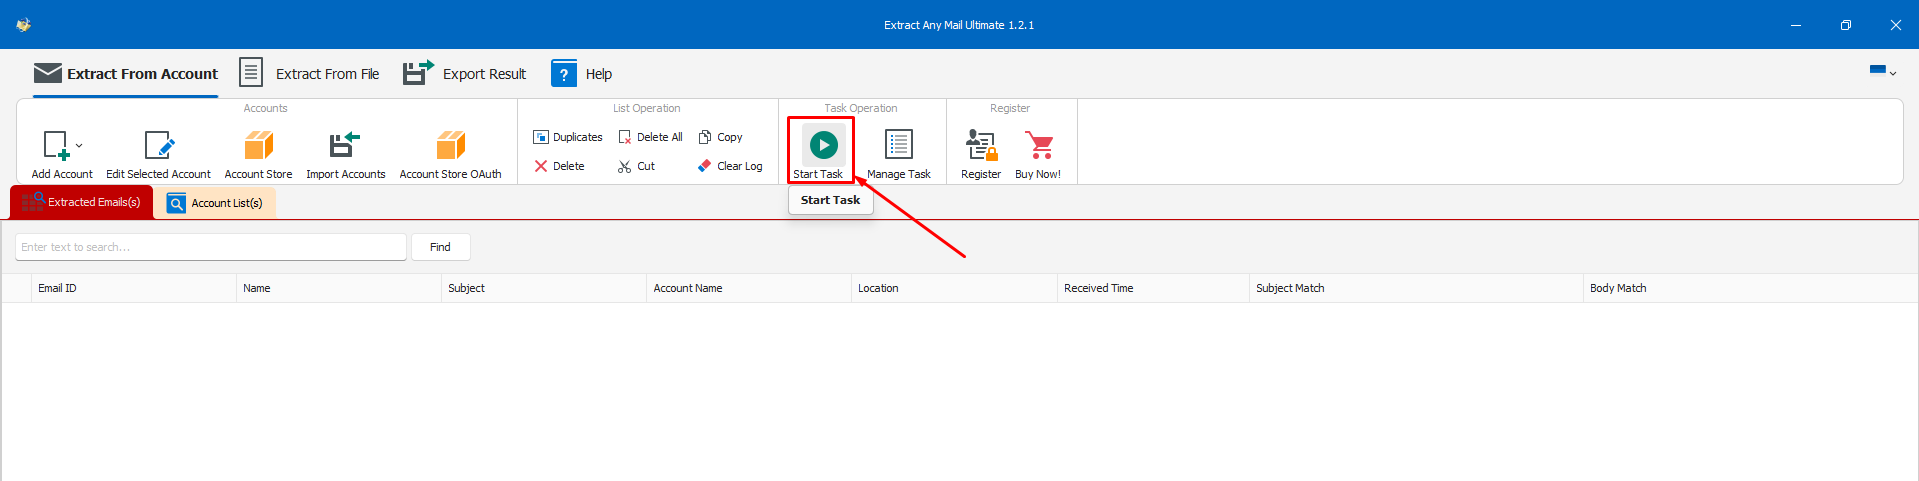
- Now click the “Start Task” option.

- It will bring some extra options. Tick the “Do not mark email as read” and click proceed. You can tick the other options too if needed.
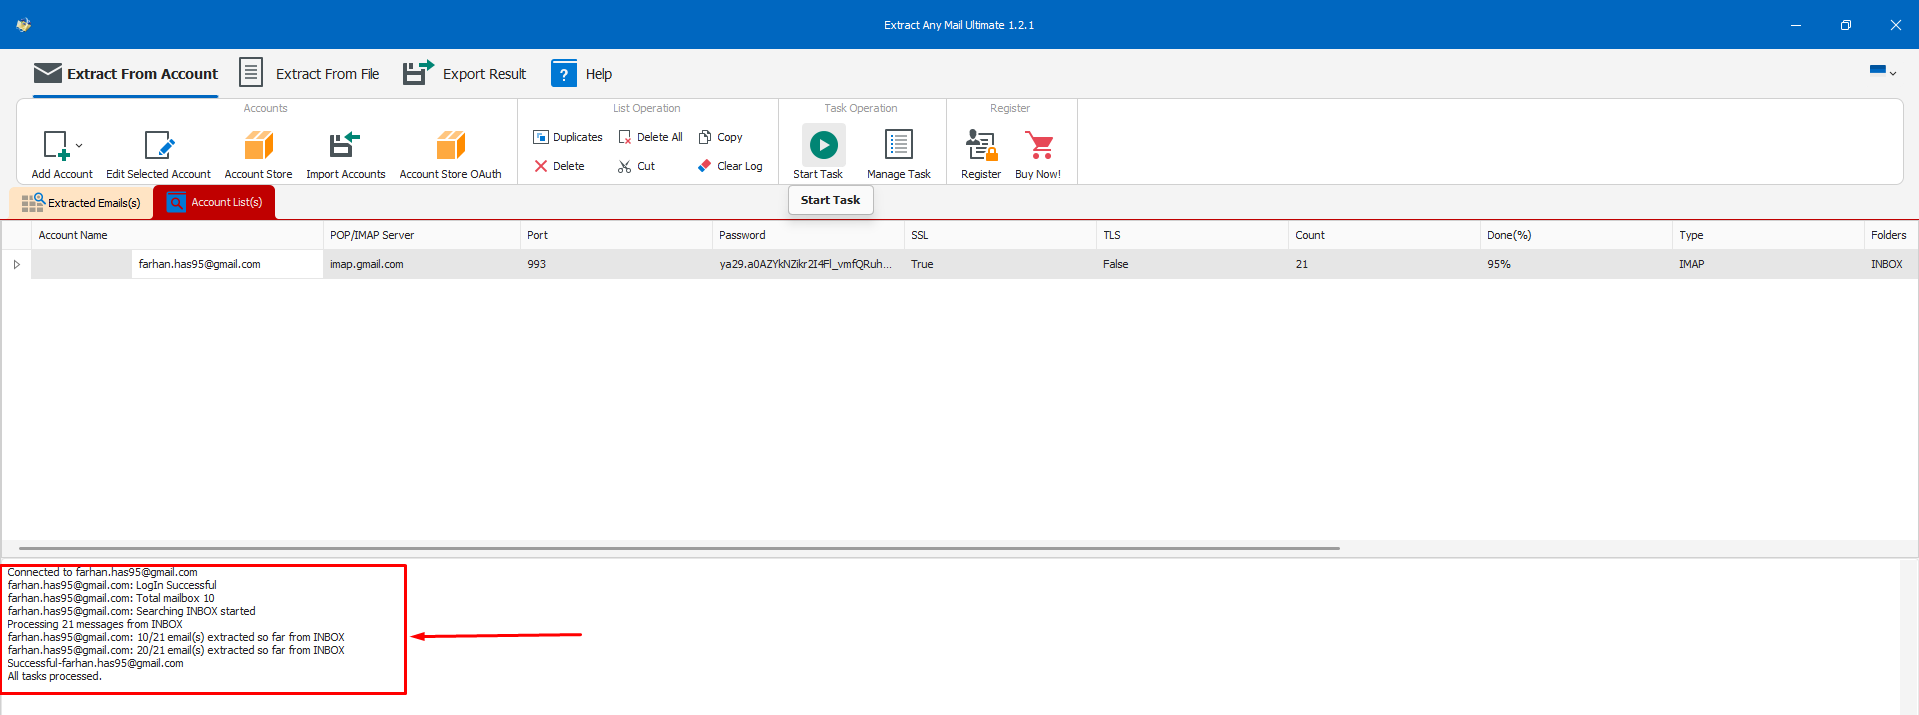
- It will start the extraction process.

- Once the extraction is done, go to the “Export Results” tab and select your desired file format to save the extracted email addresses.

- Please know that using the “Export Test” option will only save the email addresses, no other information will be saved. If you need other information as well, consider choosing the other three options.


Conclusion
This concludes our tutorial post on how to register a project/app in Google Cloud Console for getting the Client ID and Client Secret which is needed for accessing Gmail or Google Workspace accounts from a 3rd party application. Hope this helps you to extract email addresses using our Extract Any Mail Ultimate. Some of the settings or options may vary depending on your email account and organizational settings. However, the settings and process are the same for all Gmail or Google Workspace accounts.
Let us know if you encounter any issues while setting up the OAuth. Our support team will assist you, but please bear it in mind that you must have sufficient access to the account to perform all these steps.
Related Posts
Why you should avoid posting your email list online?
In the expanse of digital communication, maintaining the confidentiality of...
Why I should upgrade to Email Sorter Ultimate from Email Sorter Pro?
Email Sorter Ultimate has expanded its capabilities by incorporating...

How do I install the Email Sorter Ultimate?
You can install the Email Sorter Ultimate easily. Please check this...